Author Archives: esanford

Mystery Technique #96

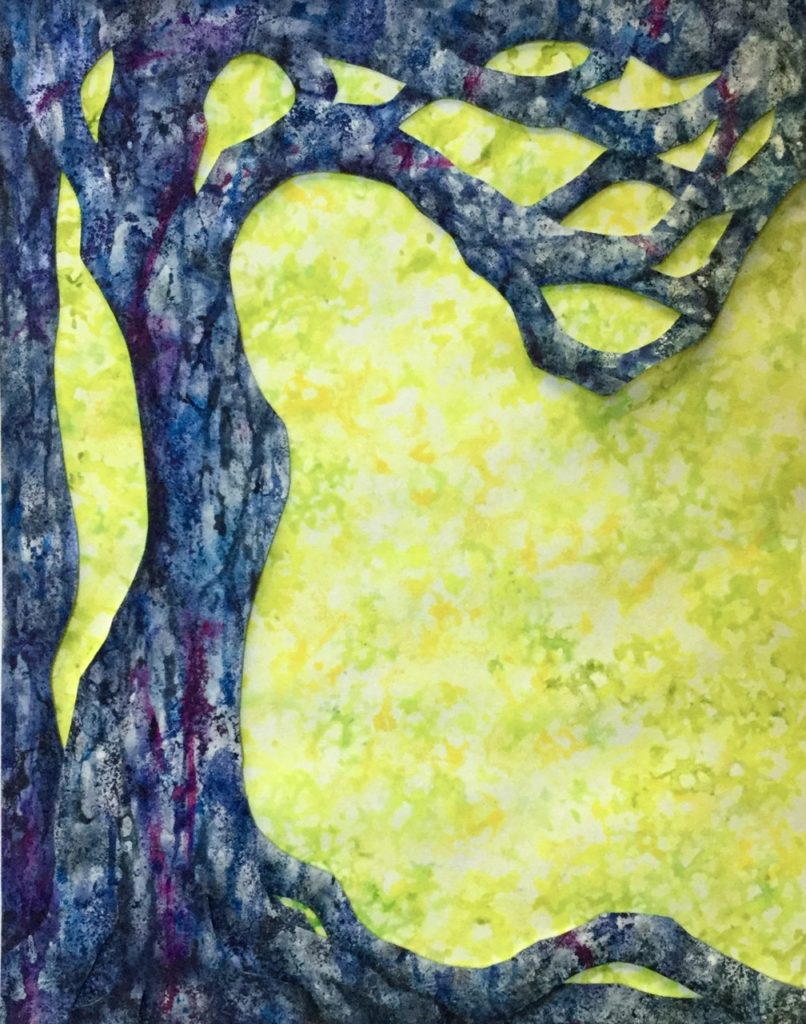
Want to know which techniques I used in this painting? You can find out next month if you’ve signed up for email updates!

ANSWER TO MYSTERY TECHNIQUE #95:

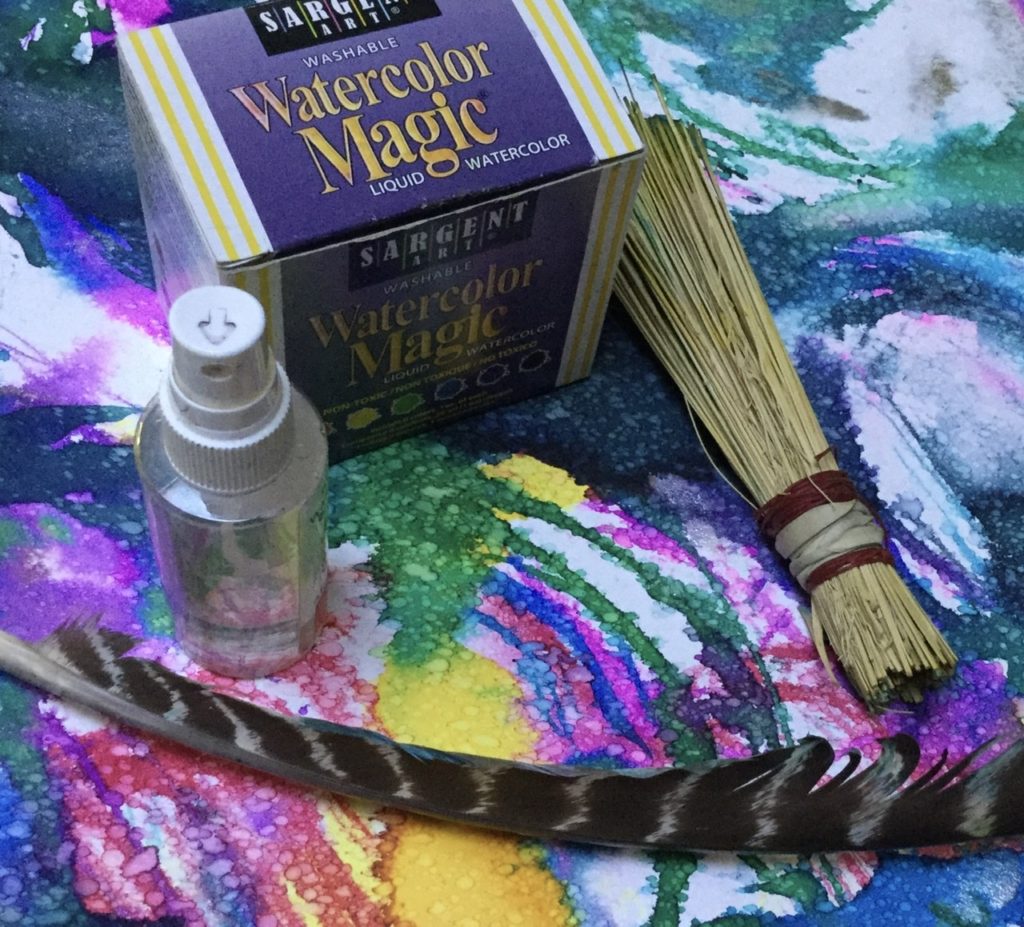
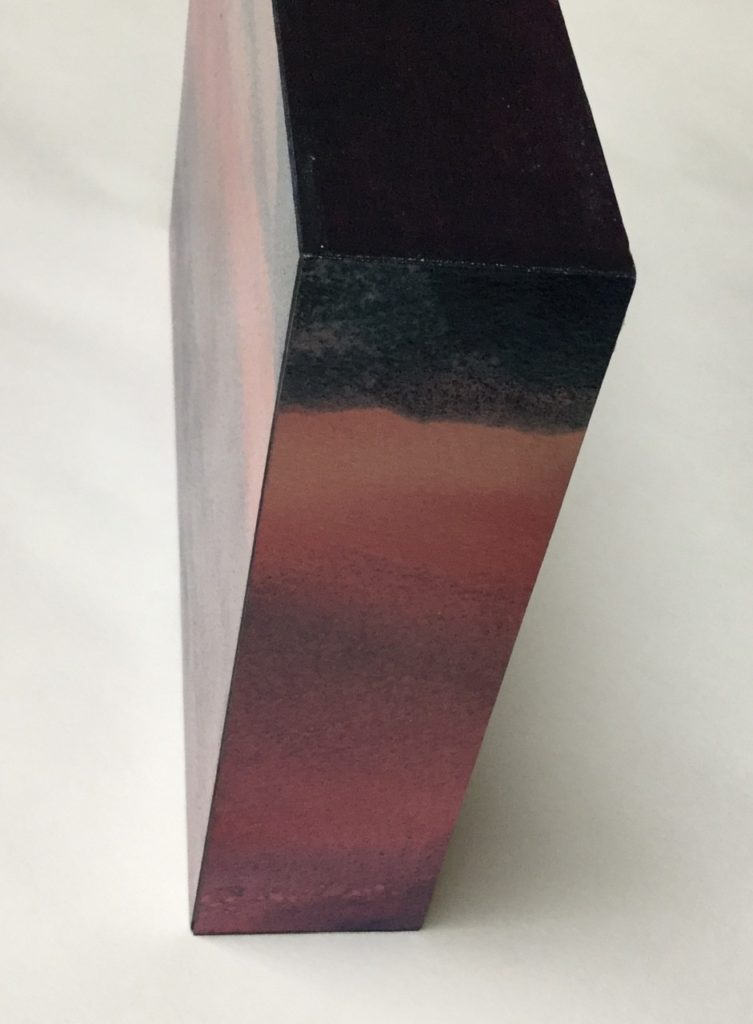
The secret ingredient is rain! Laura Huff and I taught a Dream Energy Painting Workshop shortly before Nashville’s Pandemic lockdown. It was sprinkling when I left the workshop, and the raindrops reactivated the paint to create assorted light dots ringed with darker outlines. Sargent Art’s Watercolor Magic liquid paints are great for expressive painting workshops; since some participants fling the paint a little too wildly with unusual tools like the turkey feather shown above, it’s nice to supply washable paint!

Sneak Preview & More!

Here’s the layer you saw as an underpainting last month! It’s on top of what will be the background for this watercolor sculpture, which is part of a series based on dreams. You can see the completed piece next month!

I had fun teaching my first virtual workshop! This rubber band journal is one of the books we made. I decided to paint the stick that’s part of the binding to go with the cover. It was great to transform invasive honeysuckle into part of a book!

I’m very excited to be starting my Forest Therapy Guide Training in October! My cohort is Alpine Ibex, which is full; but you can read about the Program here and check out the ones that still have space available:

https://www.natureandforesttherapy.org/guide-training/training

Mystery Technique #95

Want to know the special ingredient for this technique? It’s not salt! You can find out the details next month if you’re signed up for email updates!

ANSWER TO MYSTERY TECHNIQUE #94:

Here are the materials I used to turn a painting on paper into a three-dimensional object:

After finishing the painting, I placed it facedown on a piece of wax paper. Working quickly, I used a brush to apply PVA adhesive in a starburst pattern, then spread it evenly. Next I positioned a Claybord panel on top and ran the brayer over the back of the panel. To be sure there weren’t any air bubbles, I turned it over, put a clean piece of waxed paper on top of the painting, and ran the brayer over it, pressing firmly. After the adhesive dried, I used a craft knife to cut off the excess paper on each side:

Next I painted the white cut edges with acrylic. To continue the painting on the sides and top, I repeated the process. I painted the bottom with a bluish black acrylic:

To varnish it, I started with 2 thin coats of a non-yellowing spray fixative. After that dried, I brushed on 3 thin coats of acrylic varnish.