Tag Archives: Mystery Technique

Mystery Technique

Mystery Technique #95

Want to know the special ingredient for this technique? It’s not salt! You can find out the details next month if you’re signed up for email updates!

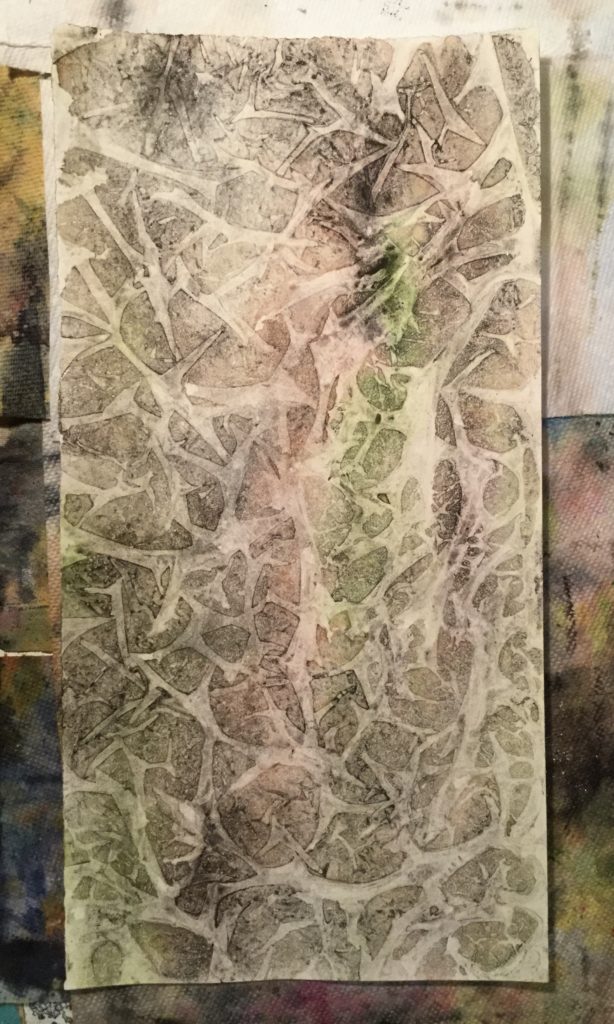
ANSWER TO MYSTERY TECHNIQUE #94:

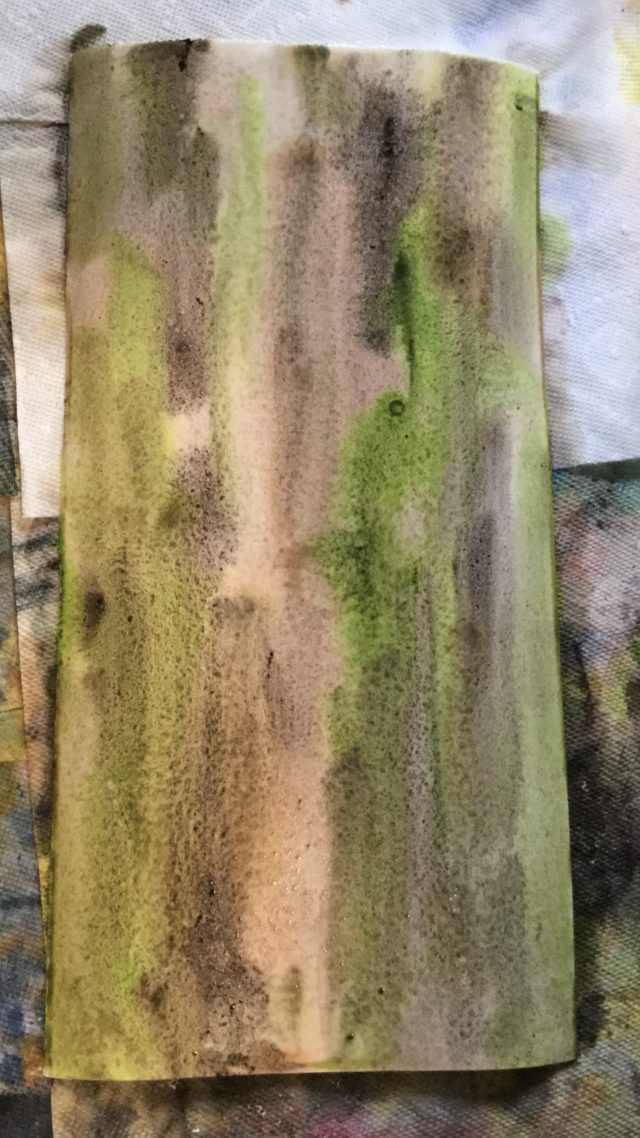
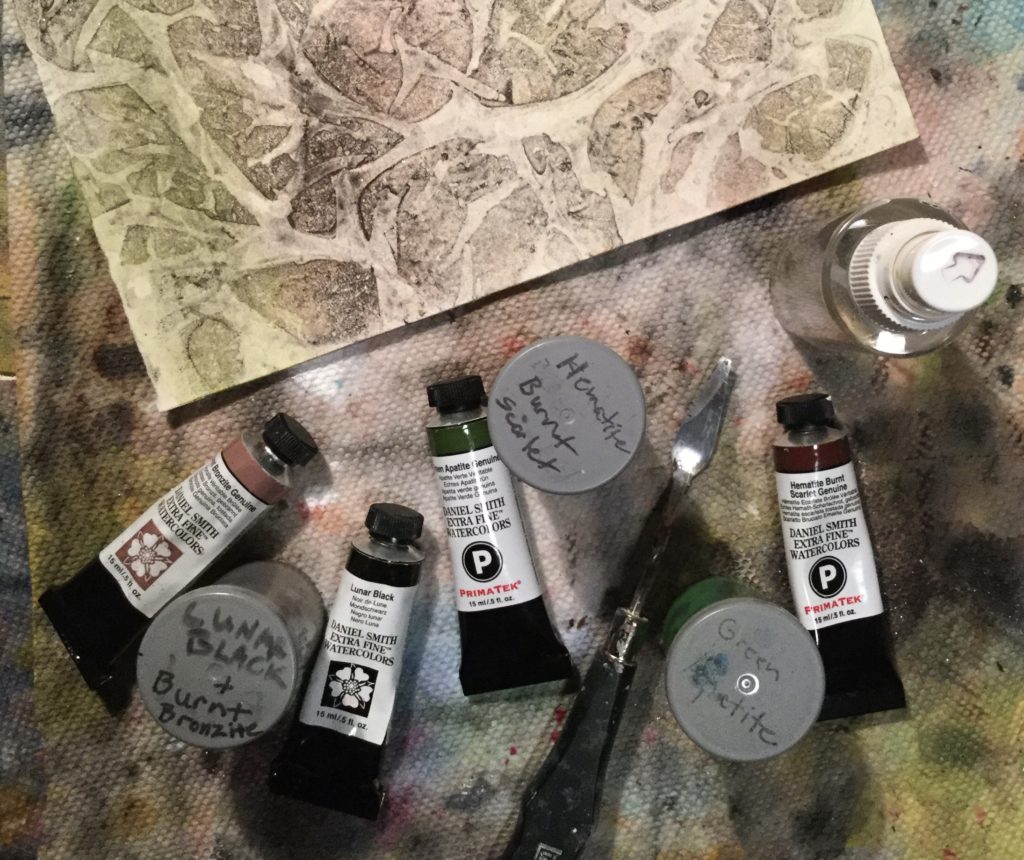
Here are the materials I used to turn a painting on paper into a three-dimensional object:

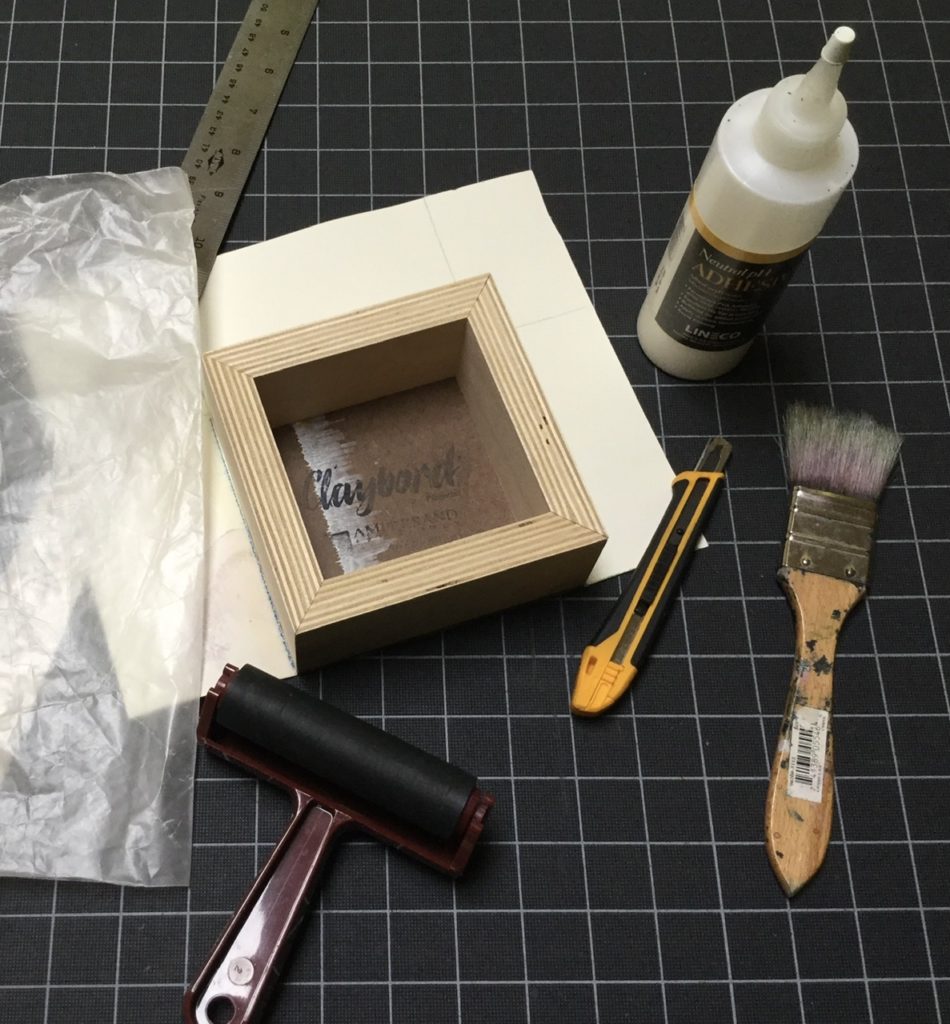
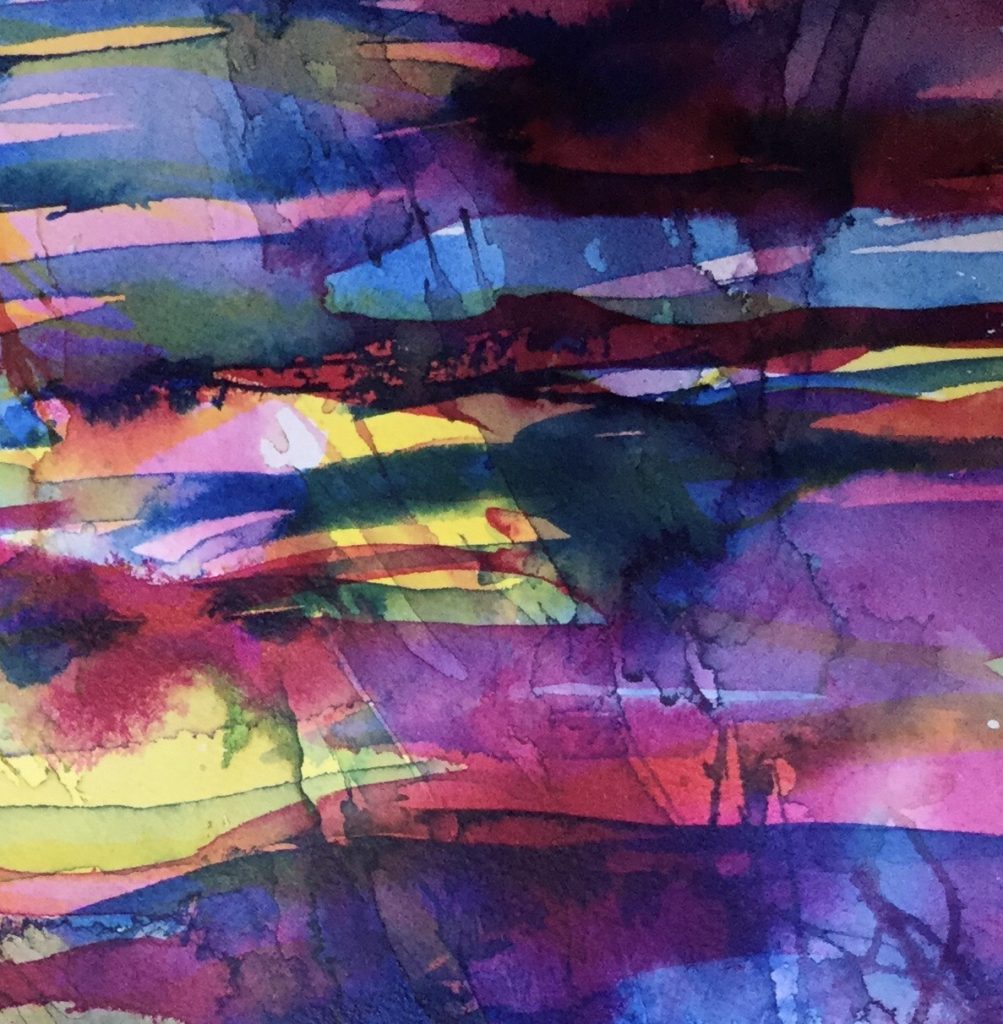
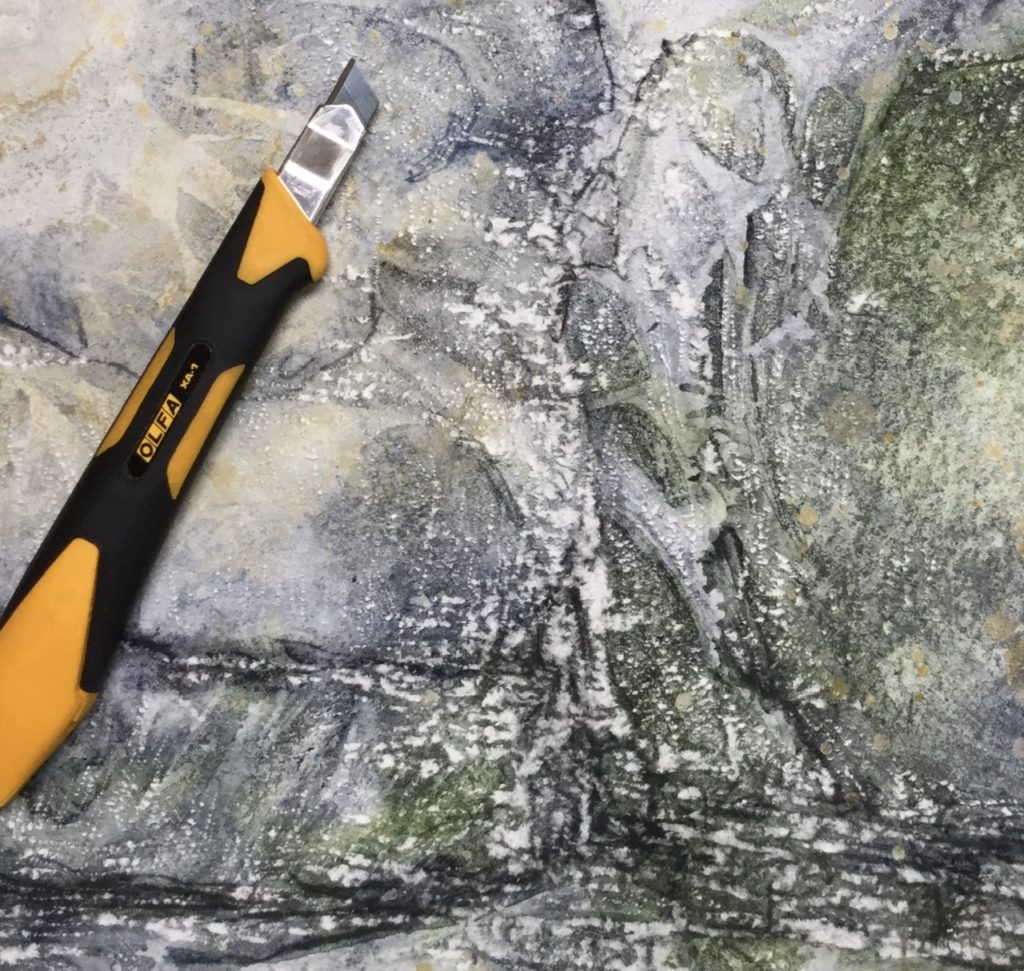
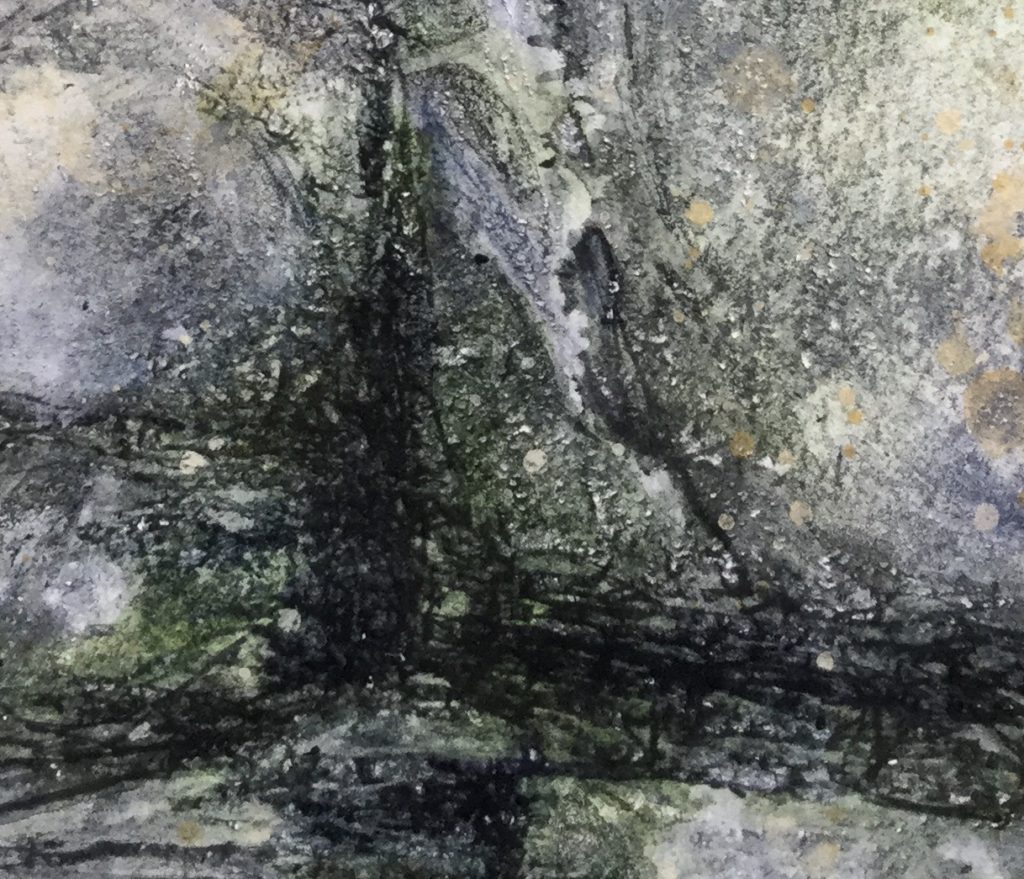
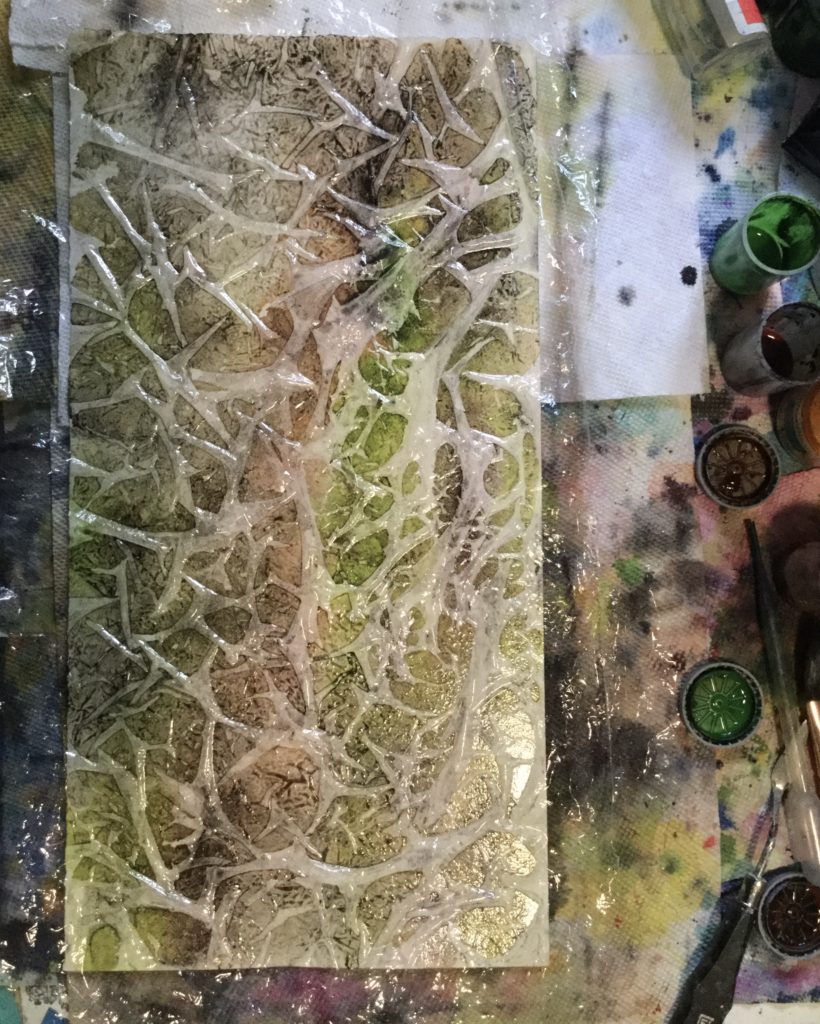
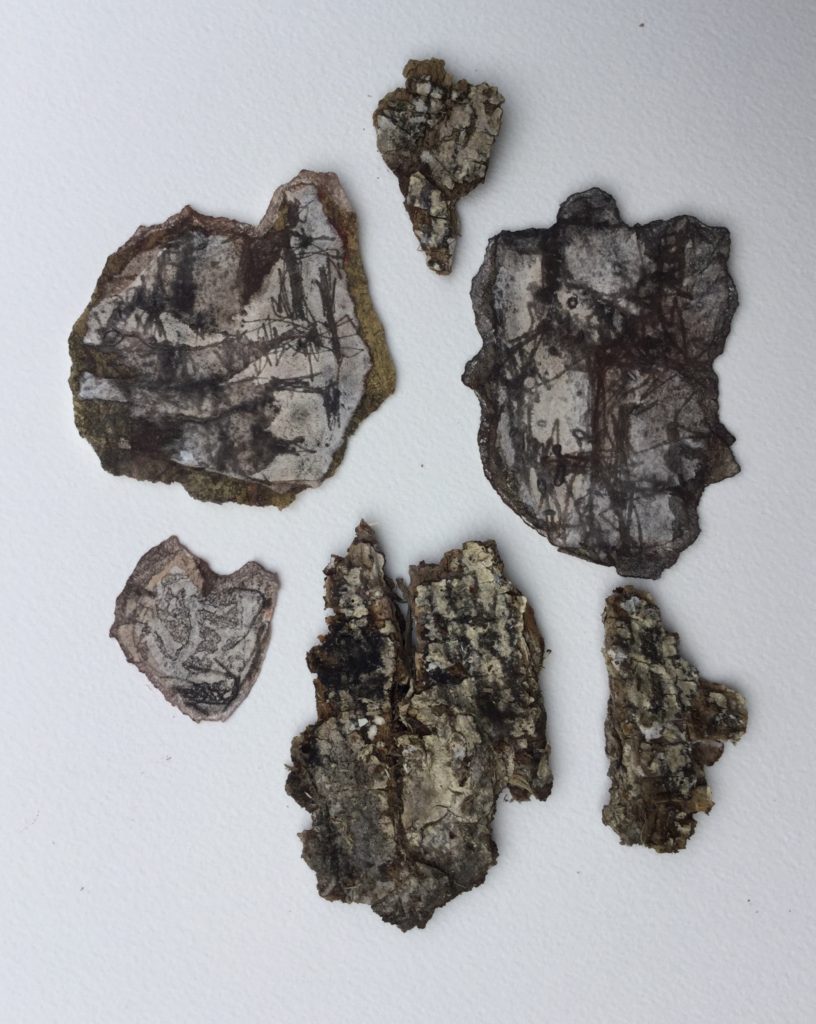
After finishing the painting, I placed it facedown on a piece of wax paper. Working quickly, I used a brush to apply PVA adhesive in a starburst pattern, then spread it evenly. Next I positioned a Claybord panel on top and ran the brayer over the back of the panel. To be sure there weren’t any air bubbles, I turned it over, put a clean piece of waxed paper on top of the painting, and ran the brayer over it, pressing firmly. After the adhesive dried, I used a craft knife to cut off the excess paper on each side:

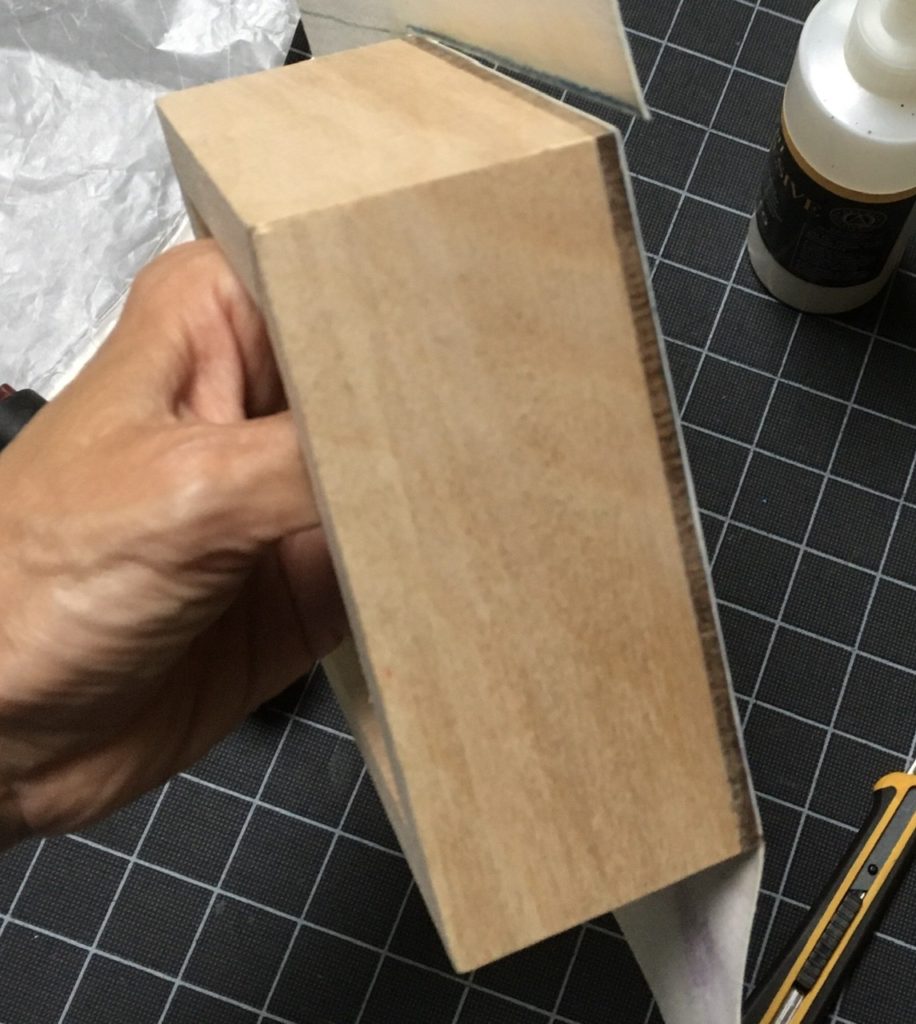
Next I painted the white cut edges with acrylic. To continue the painting on the sides and top, I repeated the process. I painted the bottom with a bluish black acrylic:

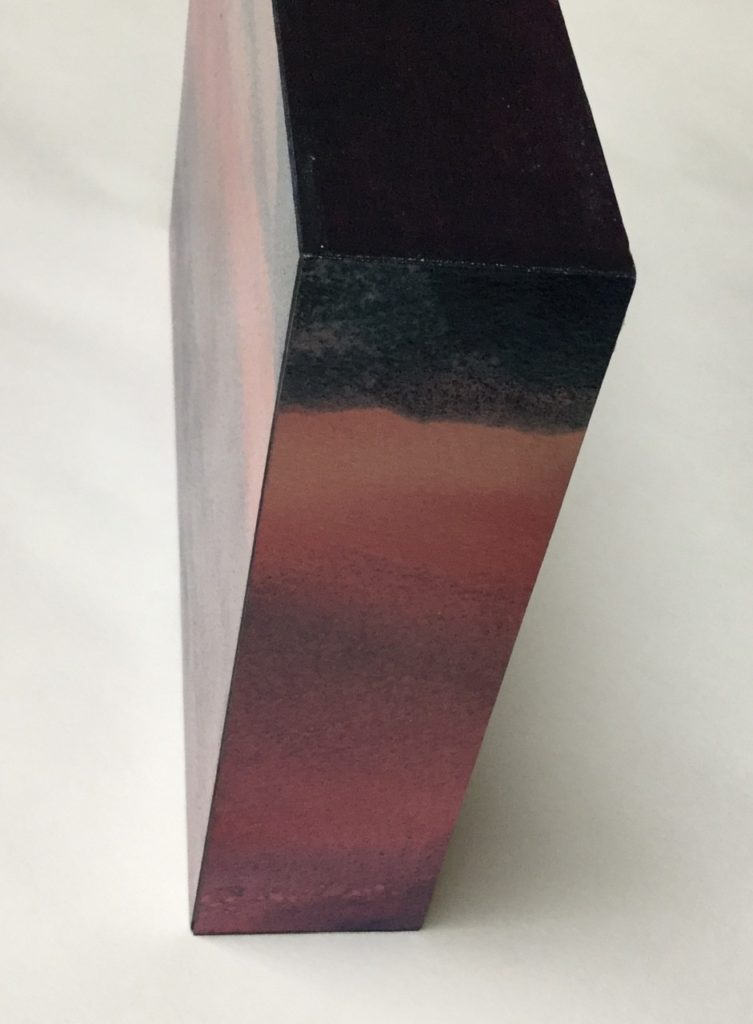
To varnish it, I started with 2 thin coats of a non-yellowing spray fixative. After that dried, I brushed on 3 thin coats of acrylic varnish.

Mystery Technique

Mystery Technique #92

Interested in trying Dream/Intuition paintings? Next month I’ll share my favorite tips to get you started, including a 2-minute technique to get “unstuck” in painting and writing!

ANSWER TO MYSTERY TECHNIQUE #91:

Old rock walls have amazing textures! Here are a couple of the photos that inspired my rock wall experiments:

After doing the plastic-on-wet paint technique for the first layer and letting it dry, I added some acrylic spattering and a few watercolor glazes. Next I used a craft knife on dry paper to scratch in different depths of linear marks. Here’s the result:


When I added some wet glazes, the scratched areas turned dark:

Mystery Technique

Mystery Technique #89, Part 2

ANSWER TO MYSTERY TECHNIQUE #89, PART 1:

The Mystery Tree is a Yellow Buckeye! Here’s a step-by-step demo of one of my bark experiments. First I wet 140 lb. hot press watercolor paper, then applied a quick wet-in-wet mix of watercolors:

While the paper was still wet, I applied a piece of very thin plastic cut from a free “gift” bag from UPS; they gave to me when they left a large package by the door in the rain. Different weights of plastic create different effects, so it’s fun to experiment!

Manipulating the plastic with a palette knife added more variety to the wrinkling pattern. I also tilted the paper and touched the edges with a loaded brush to darken the colors in a few spots:

After about 5 hours, I took off the plastic. Here’s the result:

The granulating pigments I used increased the sense of texture. You can see my paint choices below:

The plastic-on-wet paint technique is just step one. Here are some actual pieces of bark mixed in with a few of my texture samples:

Can you pick out the painted ones? I’ll explain the rest of the process in March, or you can see the steps demonstrated in person if you sign up for the next Mixed Media session — we meet on Thursdays, and classes start on March 12!