Curious about the techniques used here? You can learn more next month if you’ve signed up for email updates!
ANSWER TO MYSTERY TECHNIQUE #163:
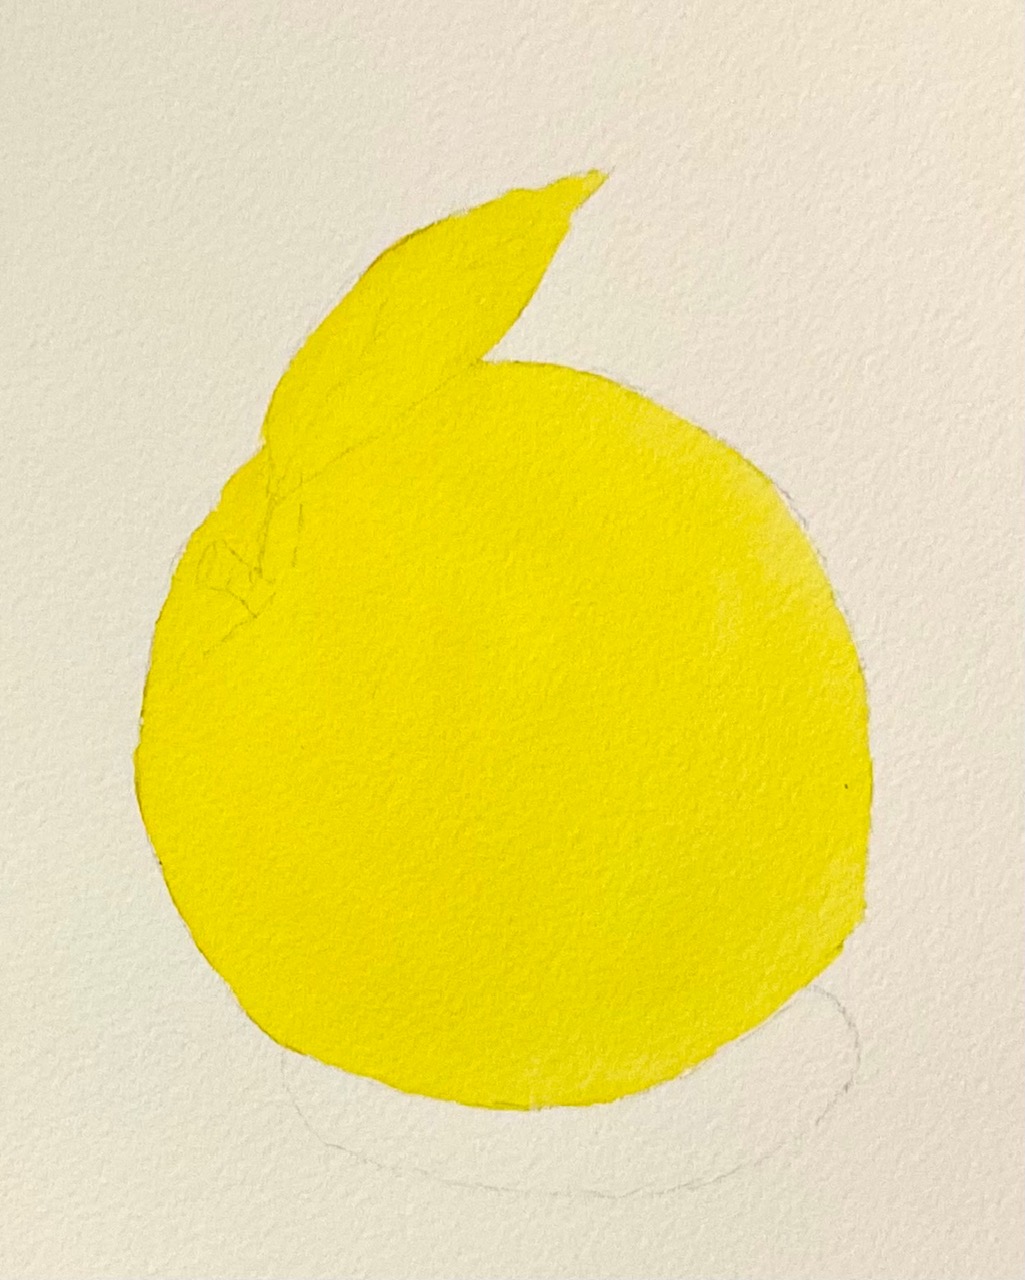
Peaches are my favorite summertime fruit, especially South Carolina ones! I used Daniel Smith watercolors for this demo and started with Hansa Yellow Medium.
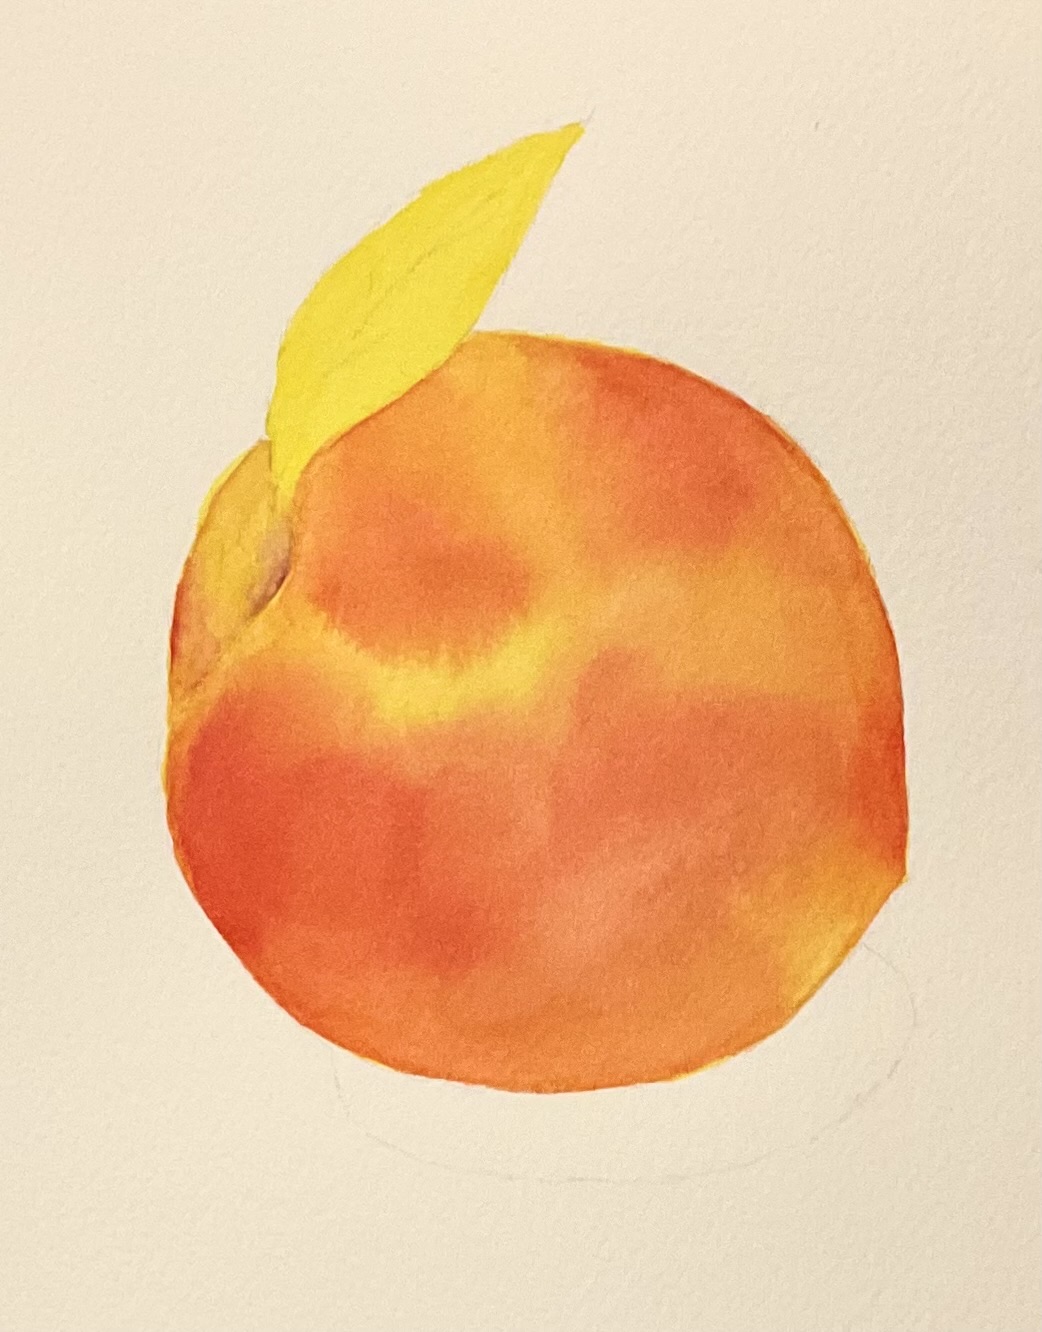
After that layer dried, I painted the stem area with a very thin glaze of Rose of Ultramarine and Quinacridone Rose. Next I wet the rest of the peach and added more Quinacridone Rose, being careful to let the yellow underpainting show in a few spots.
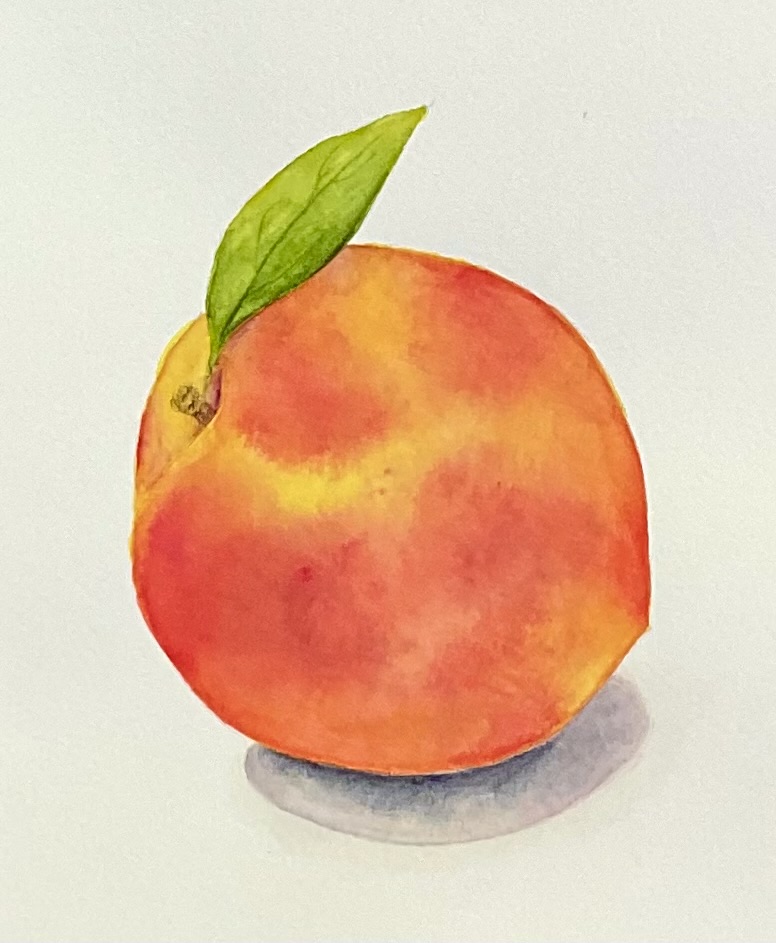
I waited for this layer to dry and then rewet the area to add a hint of shadow and texture with a little more Rose of Ultramarine on a damp piece of sea sponge. Next I painted the leaf with Sap Green and scratched in the veins with the end of a metal paint tube. I used a mixture of Bloodstone Genuine and French Ultramarine with a hint of Quinacridone Rose for the cast shadow. The final step was to add the stem and a few darker touches with watercolor pencils.