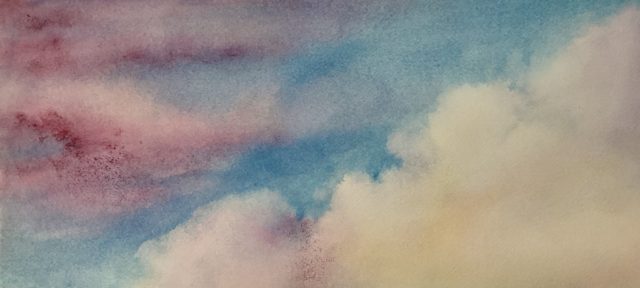
It’s Cloud Appreciation Day! These clouds required more layers and different techniques than the ones I demonstrate below. You can find out more next month if you’ve signed up for email updates!
ANSWER TO MYSTERY TECHNIQUE #118:
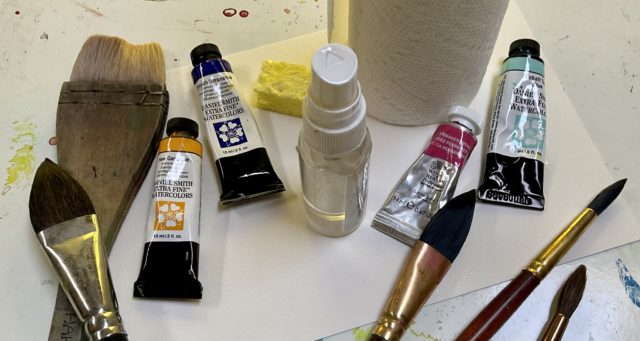
Painting clouds this way is a race against the clock! It’s a good idea to have a different brush preloaded with each color before you wet the watercolor paper. I used Arches 140 lb. Cold Press for this demo. First I mixed a gray for the cloud shadows by adding a little red and yellow to French Ultramarine. Next I loaded a different brush with just French Ultramarine and another one with just Cobalt Teal Blue. After placing paper towels underneath to absorb excess water and paint, I used the Hake brush to quickly wet the paper, then mixed the 2 blues wet-in-wet to create a gradation from lighter to darker. While the paint was still wet, I lifted out cumulus cloud shapes by firmly pressing a wadded up paper towel into it:
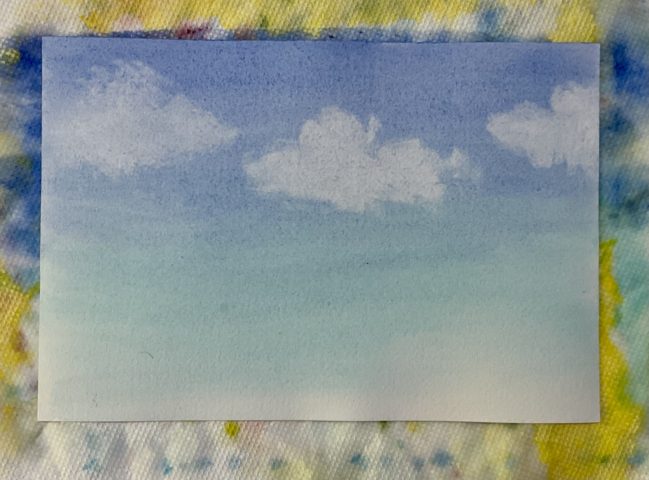
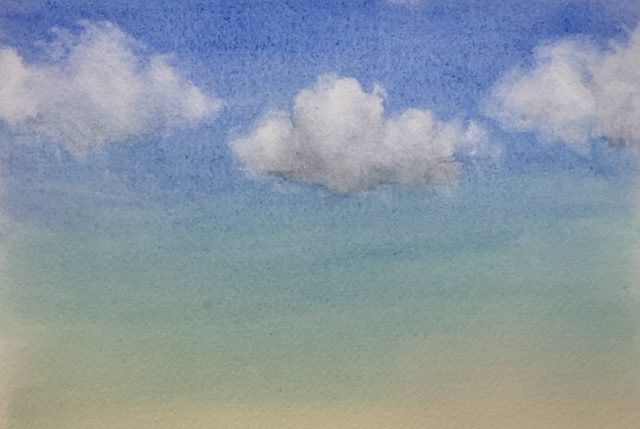
To avoid damaging the paper, I kept rotating the paper towel wad to find a clean, dry spot before pressing and lifting again. Next I added a hint of shadow to the clouds with the gray:
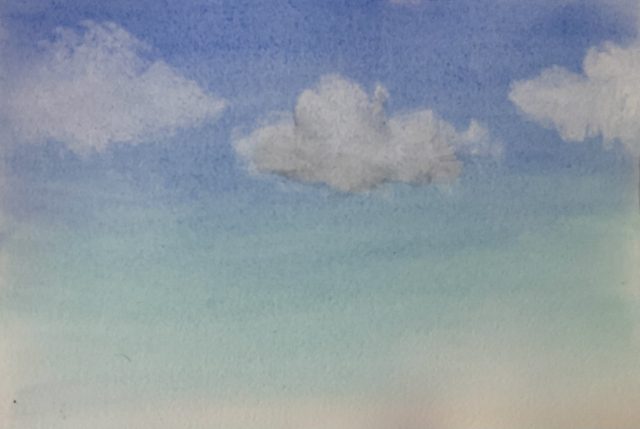
First I put down a little gray, then used a damp piece of sponge to blend it in before continuing. You can see how the gray adds dimension by comparing the middle cloud to the other 2.
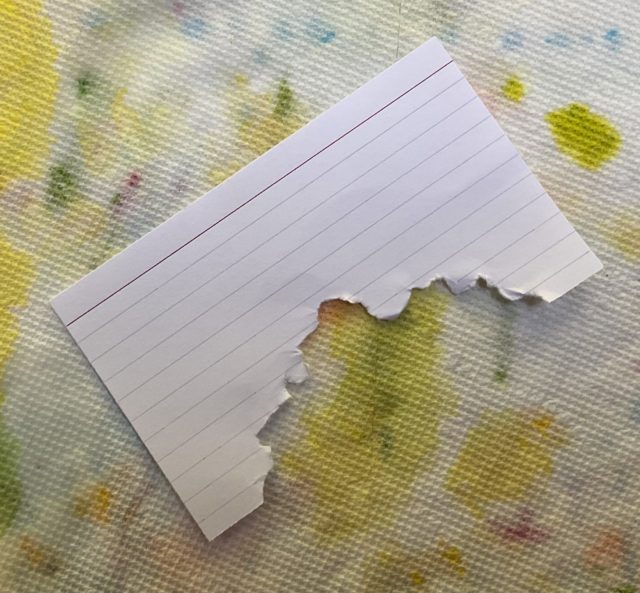
If you’d like to modify the shape of your clouds or make them whiter, you can use a torn paper stencil. You’ll also need a wet piece of eraser pad (such as the up & up brand pictured below) and a brush or damp piece of sponge.
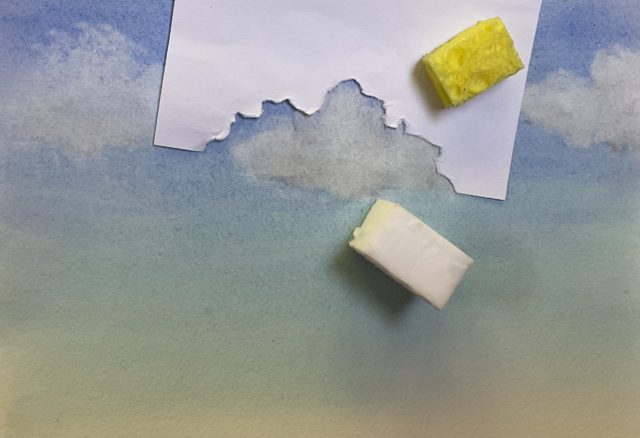
Gently rubbing the eraser piece next to the torn edges, I removed some of the paint to reveal more of the white of the paper. Moving the stencil around and sometimes reversing it allowed me to vary the edges. The little piece of sponge helped with blending. Here’s the result:
Mountains or trees could easily be added on top of the pale sky at the bottom.