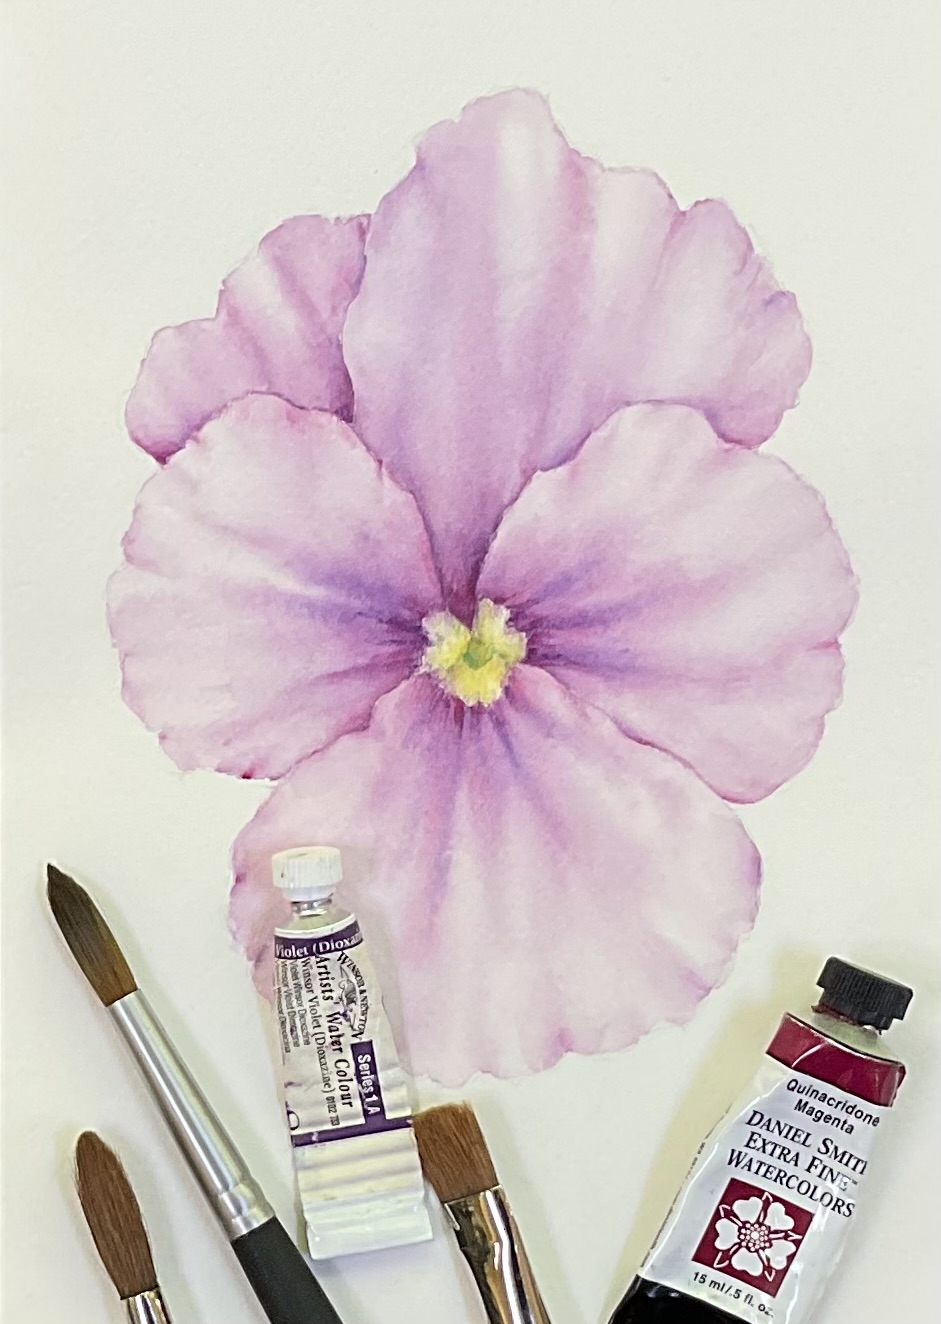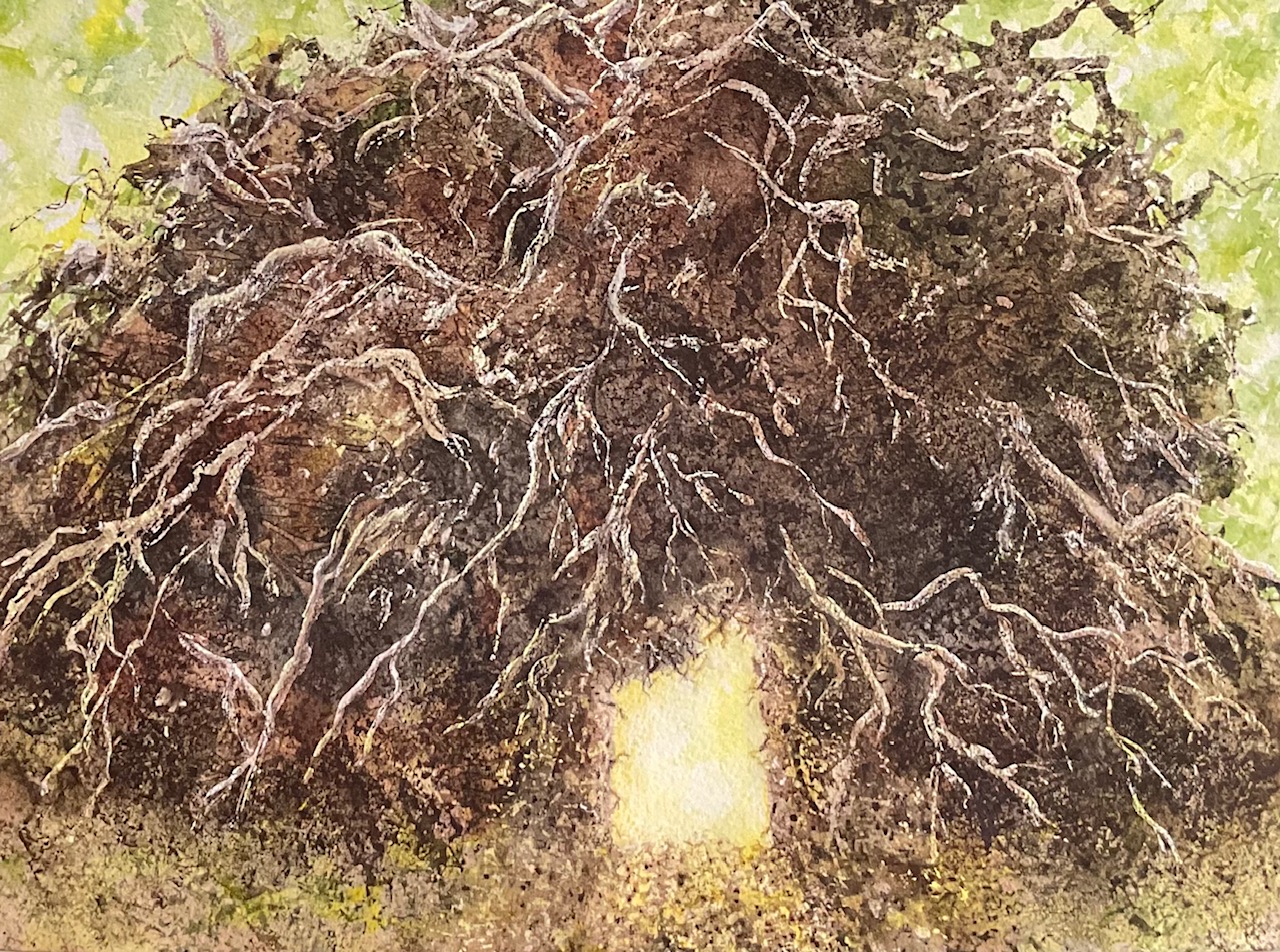
Curious about the techniques used here? You can learn more next month if you’ve signed up for email updates!
ANSWER TO MYSTERY TECHNIQUE #162:
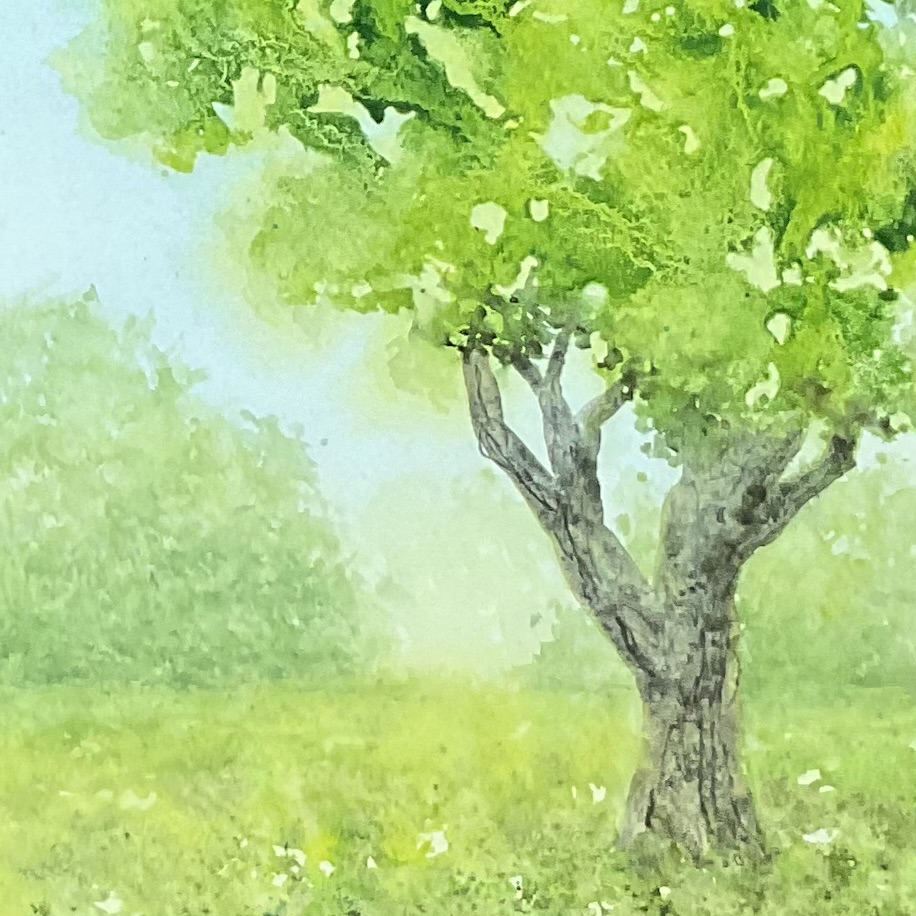
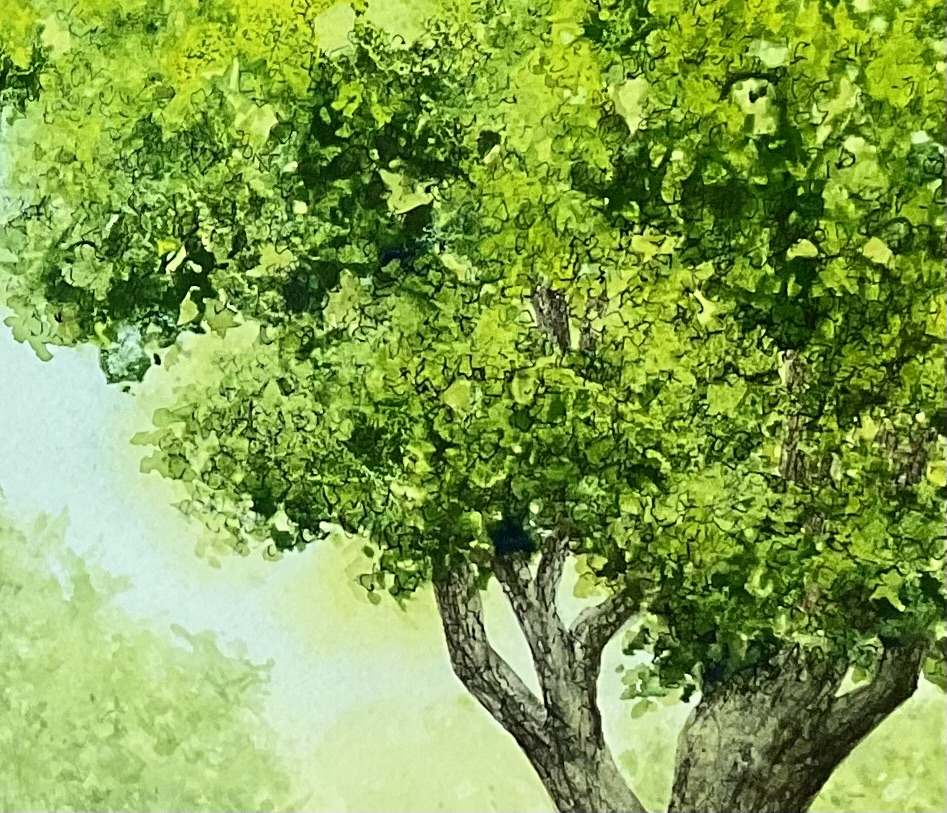
I started by getting the paper wet and painting the sky. While it was still damp, I used yellow to paint the first layer of the foliage. Next I painted the ground and distant trees. After these dried, I added another layer of trees. I waited for this to dry before painting the second foliage layer and starting the tree trunk.
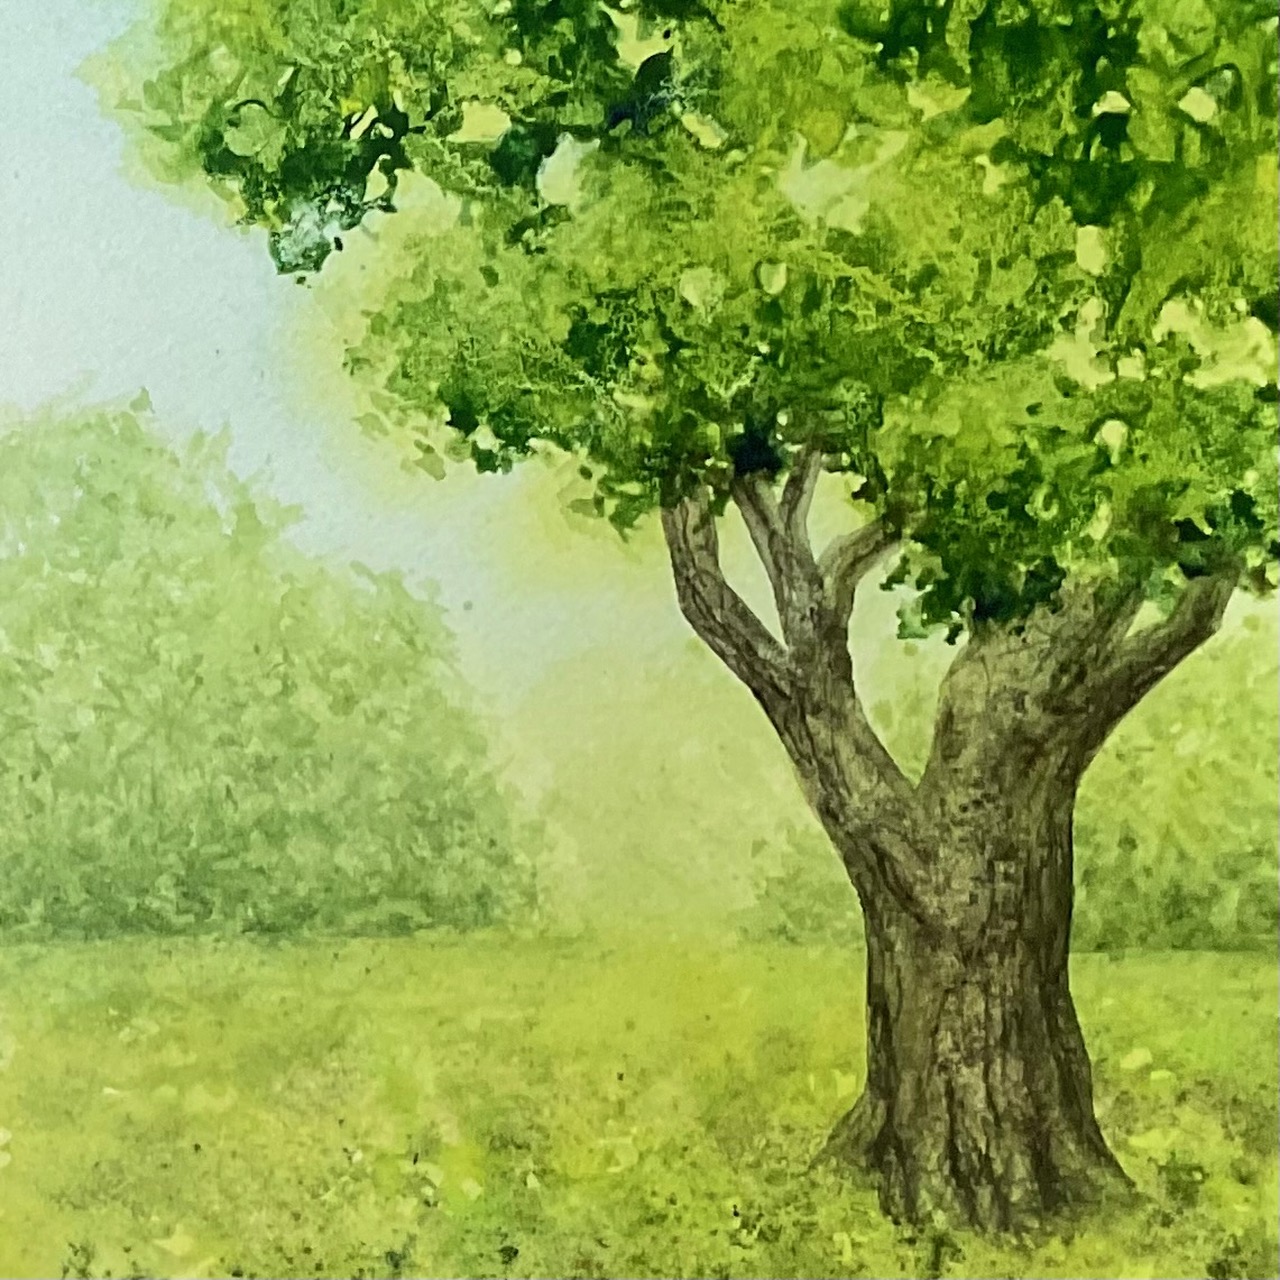
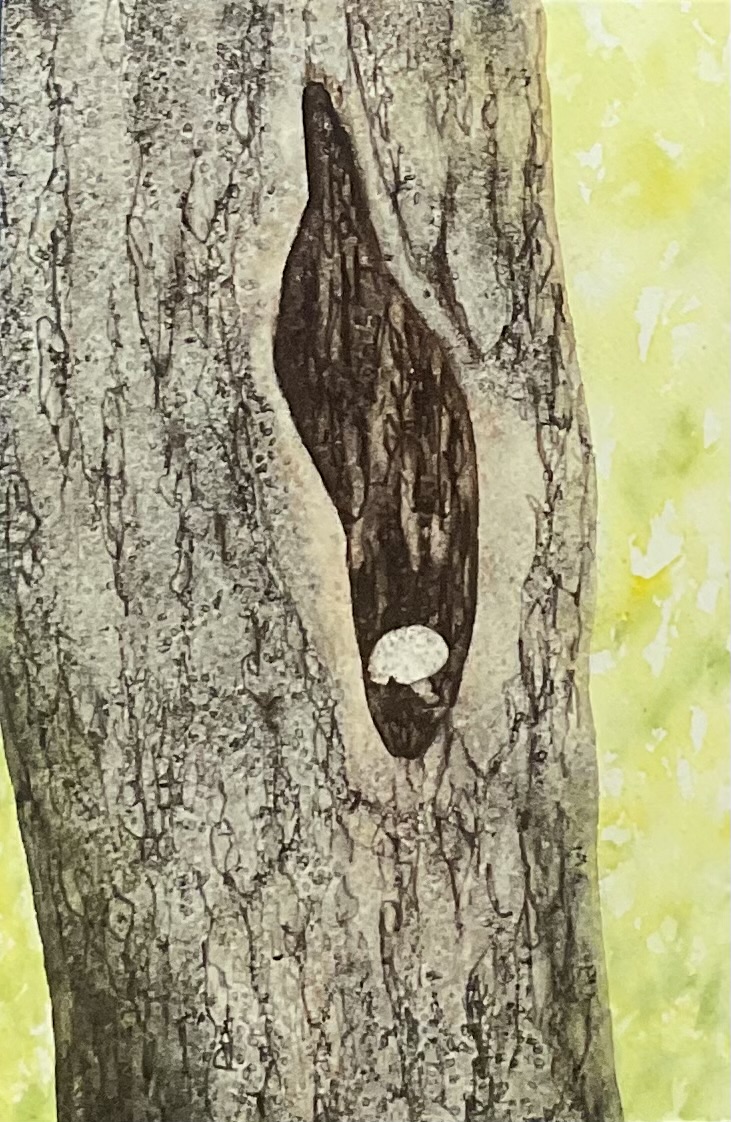
When these were dry, I darkened the foliage in places and added more definition and detail to the tree trunk.
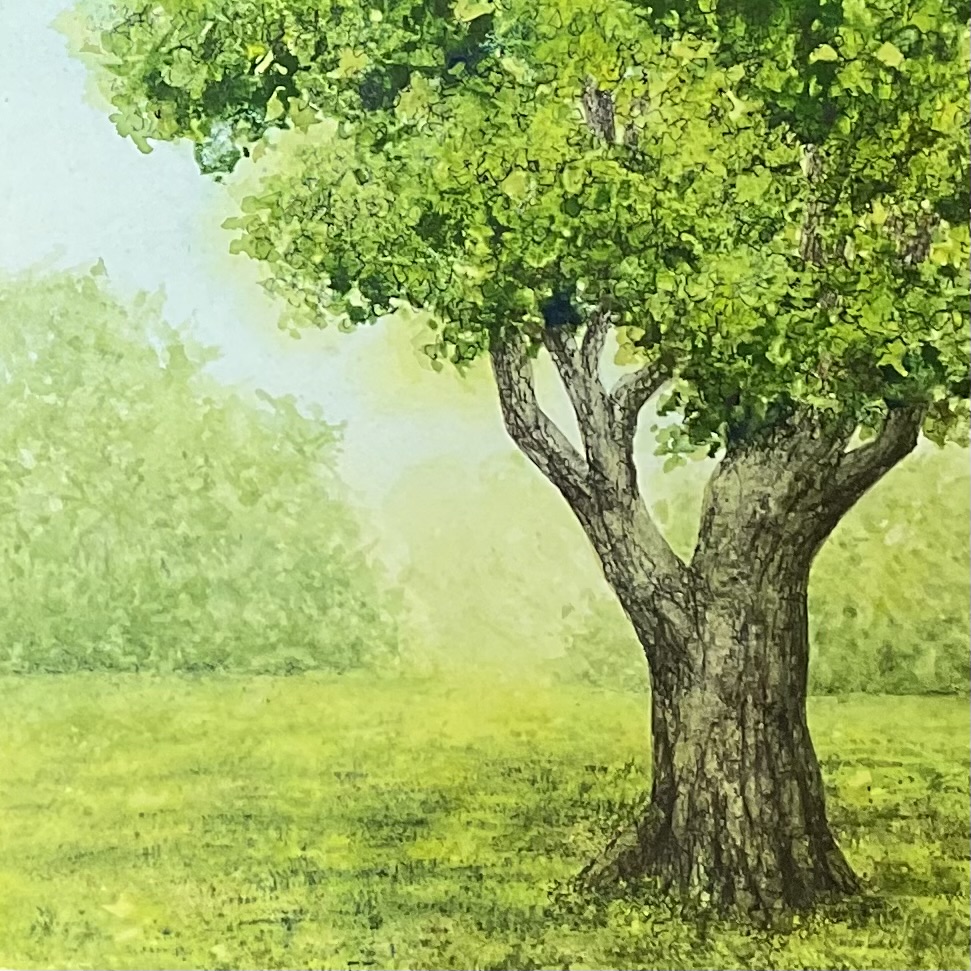
I used a stiff fan brush and darker green to suggest cast shadows under the tree. The final step was to add more detail with a 05 Micron pen. It’s fun to scribble in the foliage!