Curious about the techniques used here? You can learn more next month if you’ve signed up for email updates!
ANSWER TO MYSTERY TECHNIQUE #156:
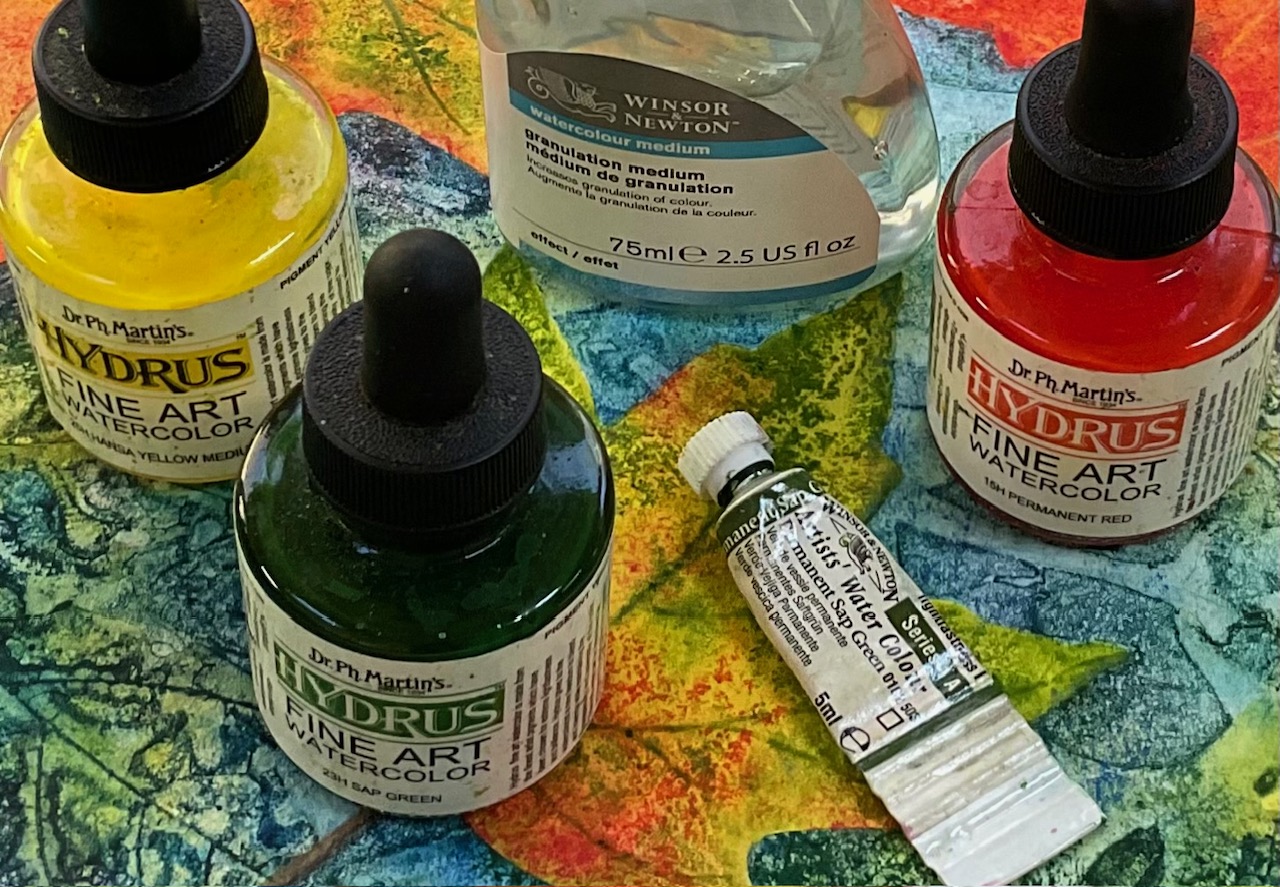
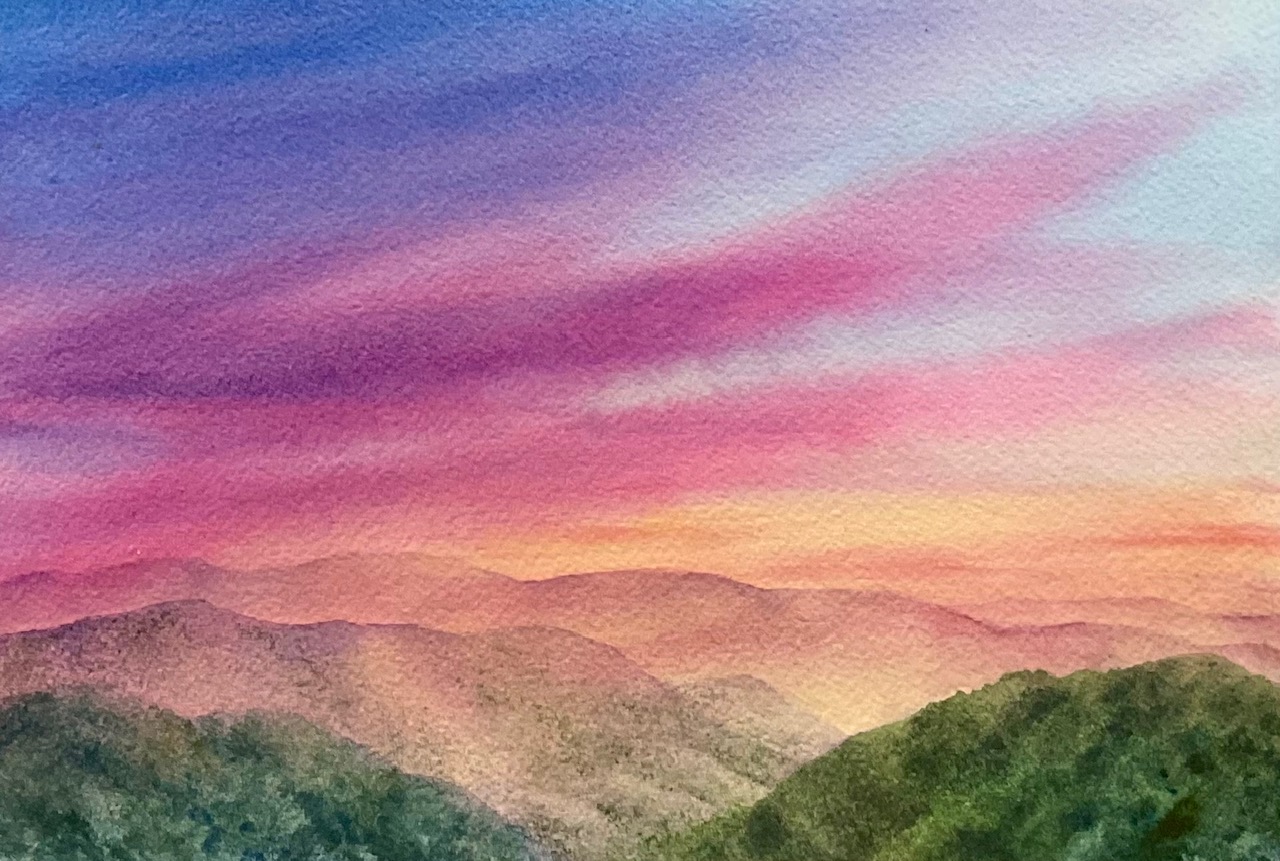
You can create intriguing textures by glazing with diluted Hydrus watercolors! This leaf started with a layer of yellow. After it dried, I wet the entire shape and dropped in Hydrus Permanent Red and Winsor & Newton’s Granulation Medium. I tilted the paper back and forth to increase the texture. When this layer was dry, I wet the leaf again and added Hydrus Sap Green, more Granulation Medium, and the veins, which I scratched in with the end of a metal paint tube.