Tag Archives: Watercolor textures

Mystery Technique

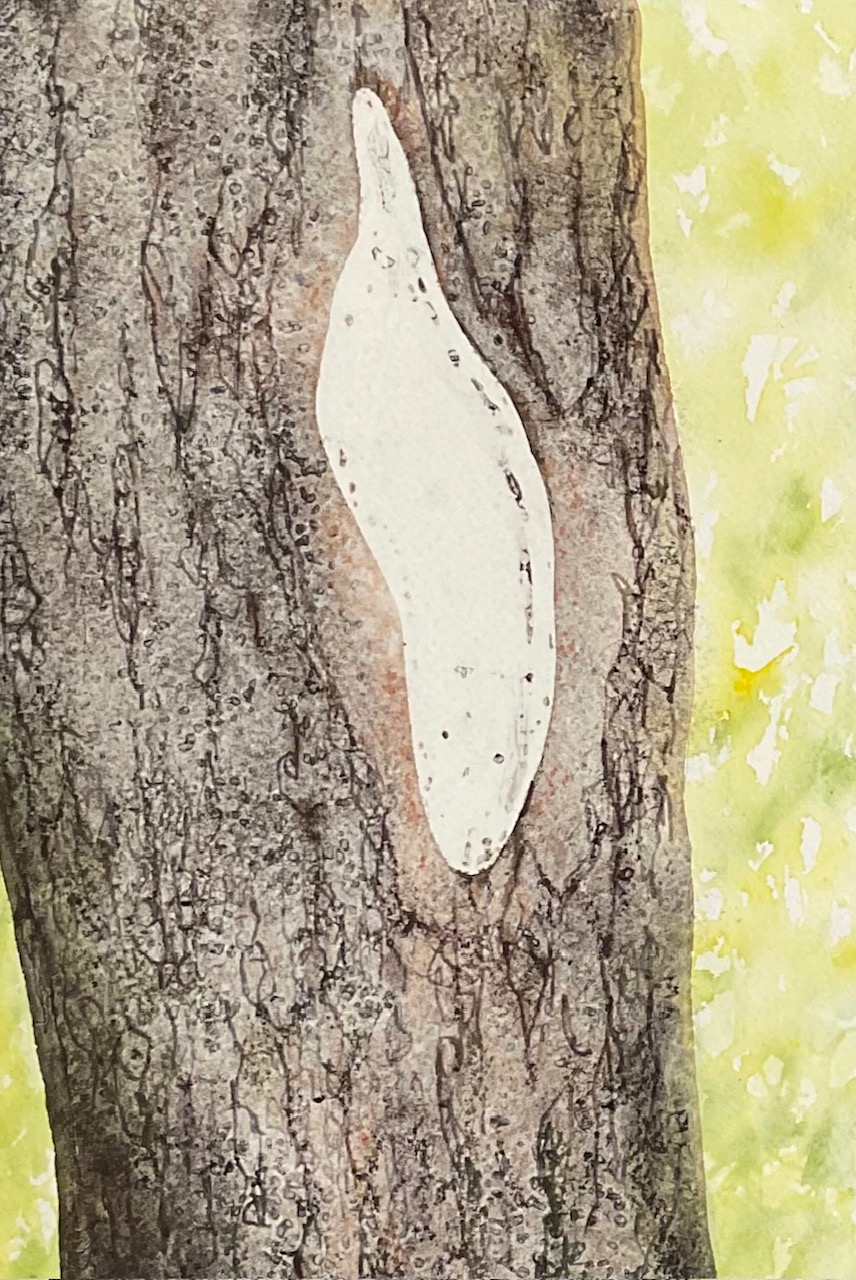
Mystery Technique #163

Curious about the techniques used here? You can learn more next month if you’ve signed up for email updates! 

ANSWER TO MYSTERY TECHNIQUE #162:

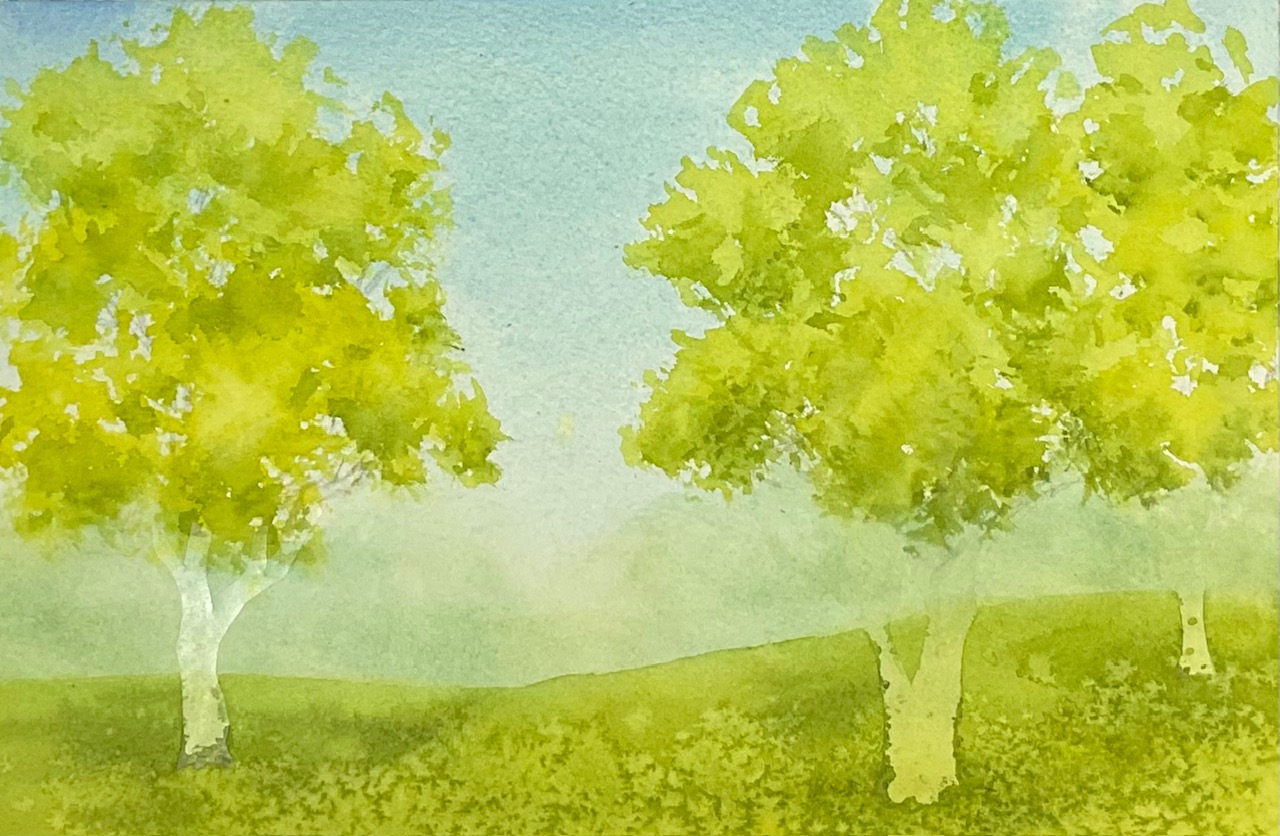
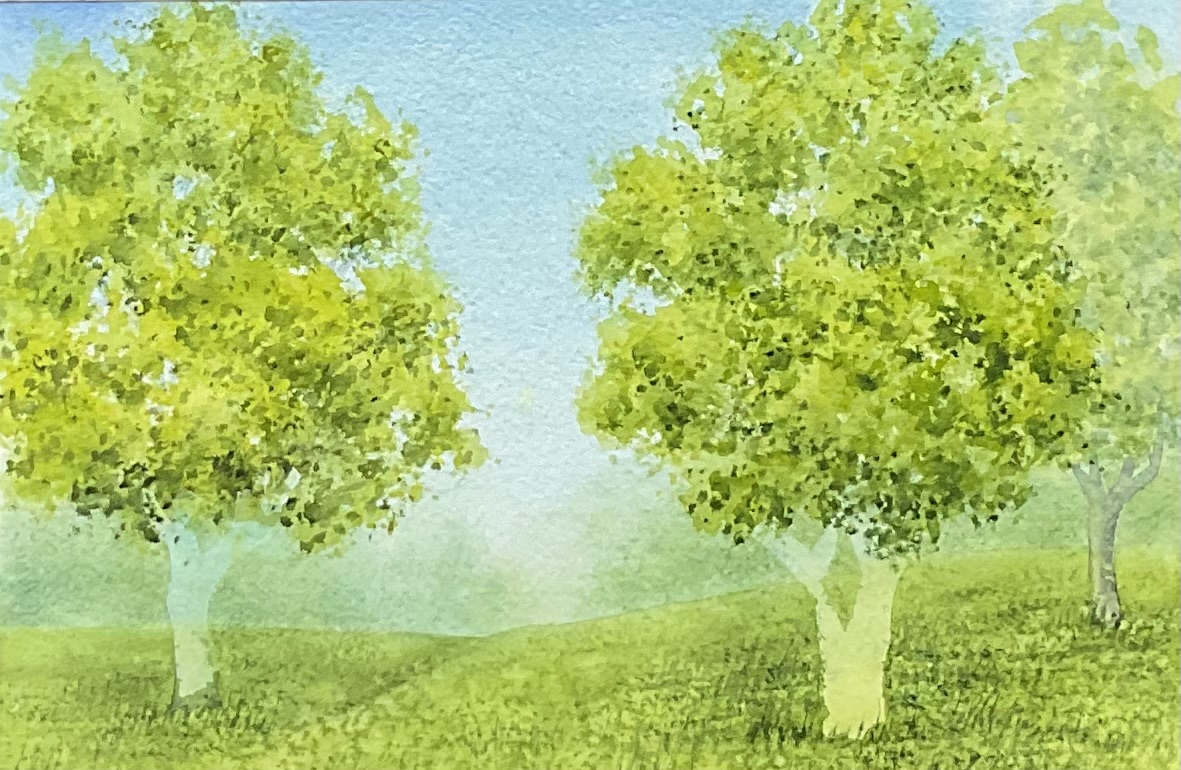
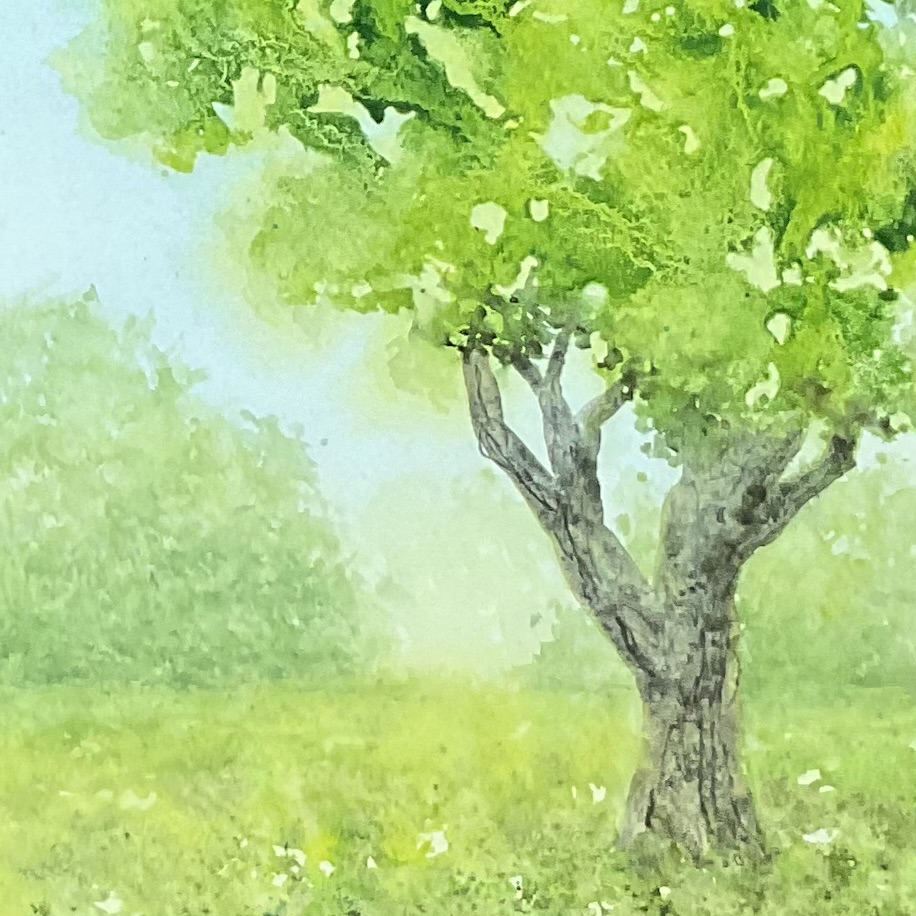
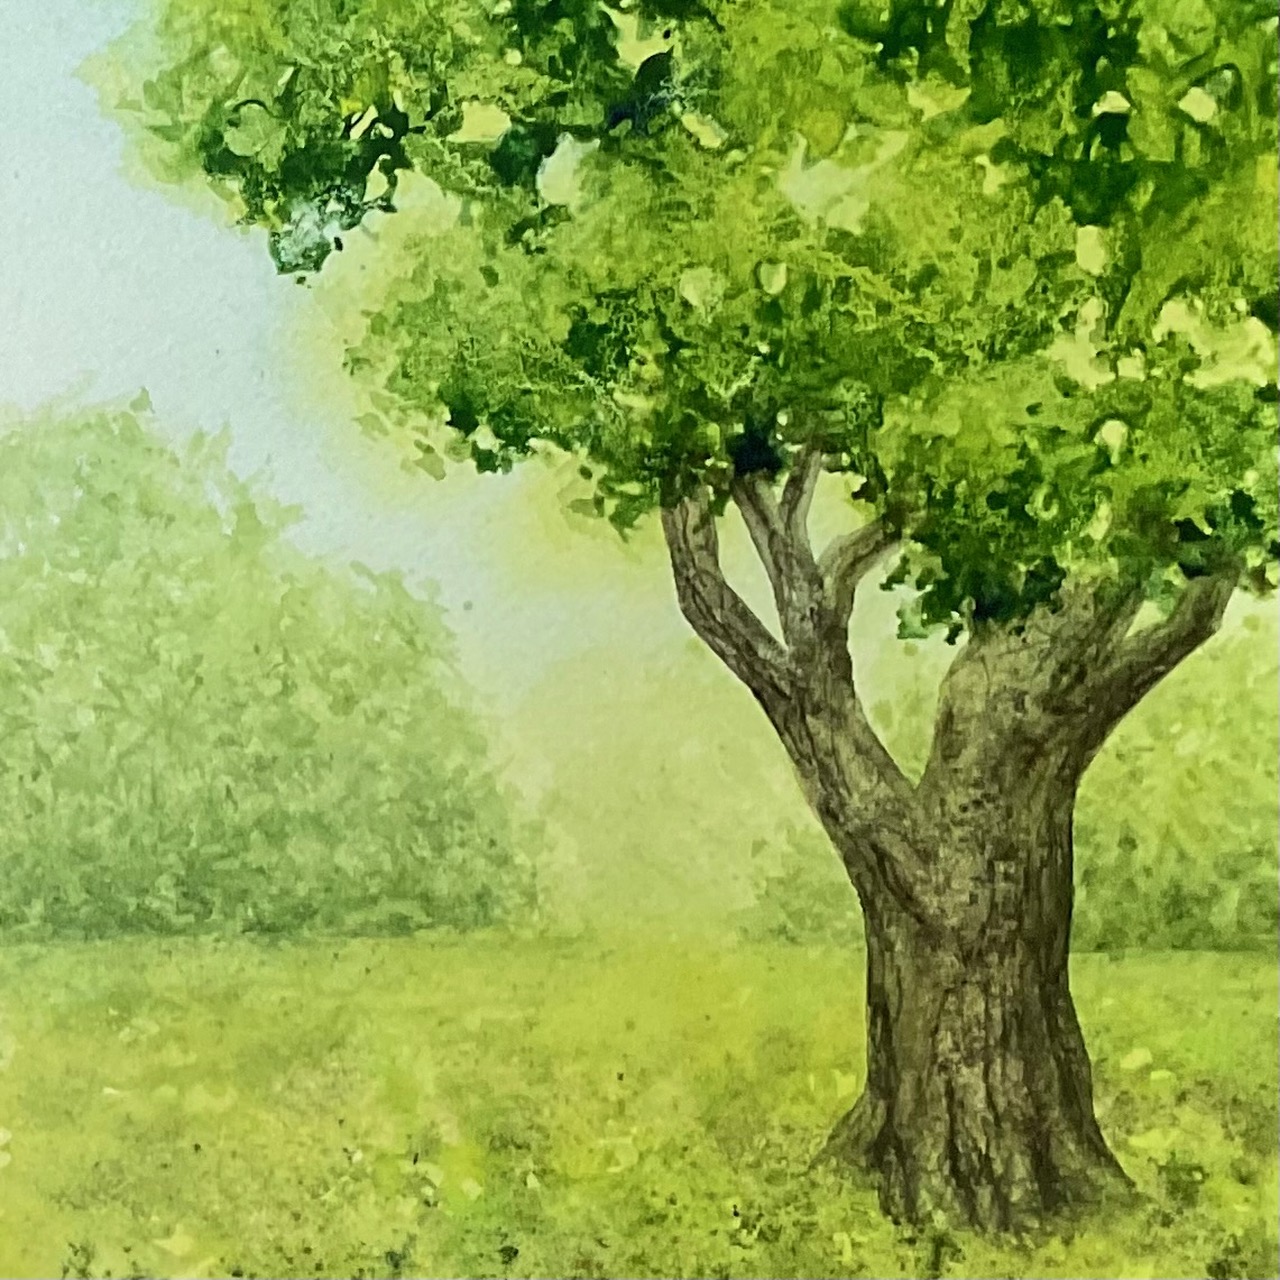
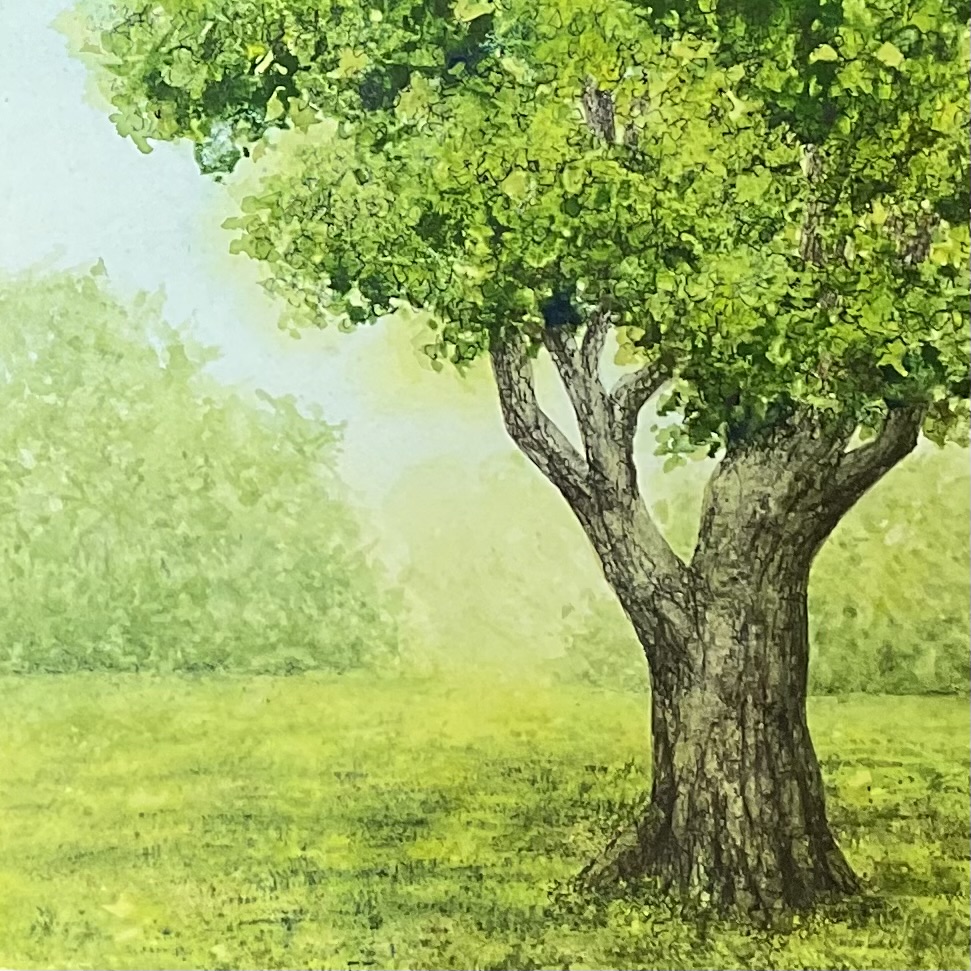
I started by getting the paper wet and painting the sky. While it was still damp, I used yellow to paint the first layer of the foliage. Next I painted the ground and distant trees. After these dried, I added another layer of trees. I waited for this to dry before painting the second foliage layer and starting the tree trunk.

When these were dry, I darkened the foliage in places and added more definition and detail to the tree trunk.

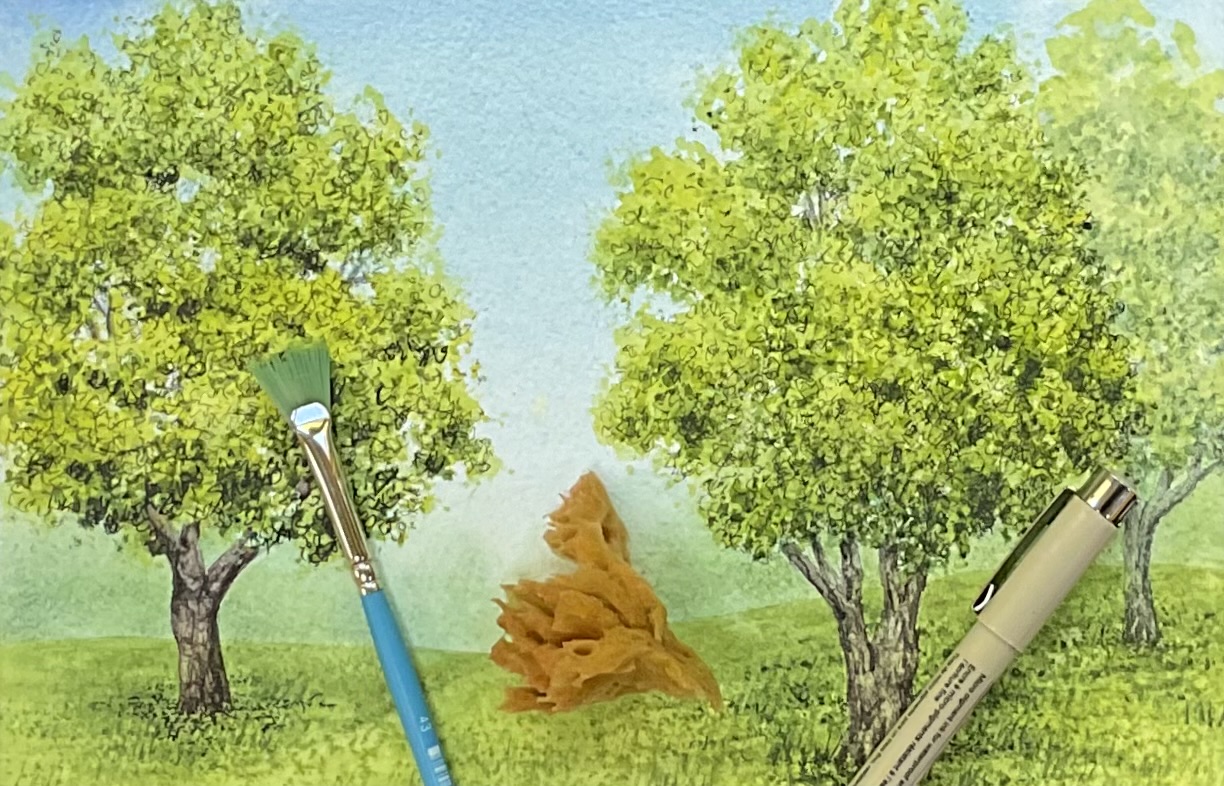
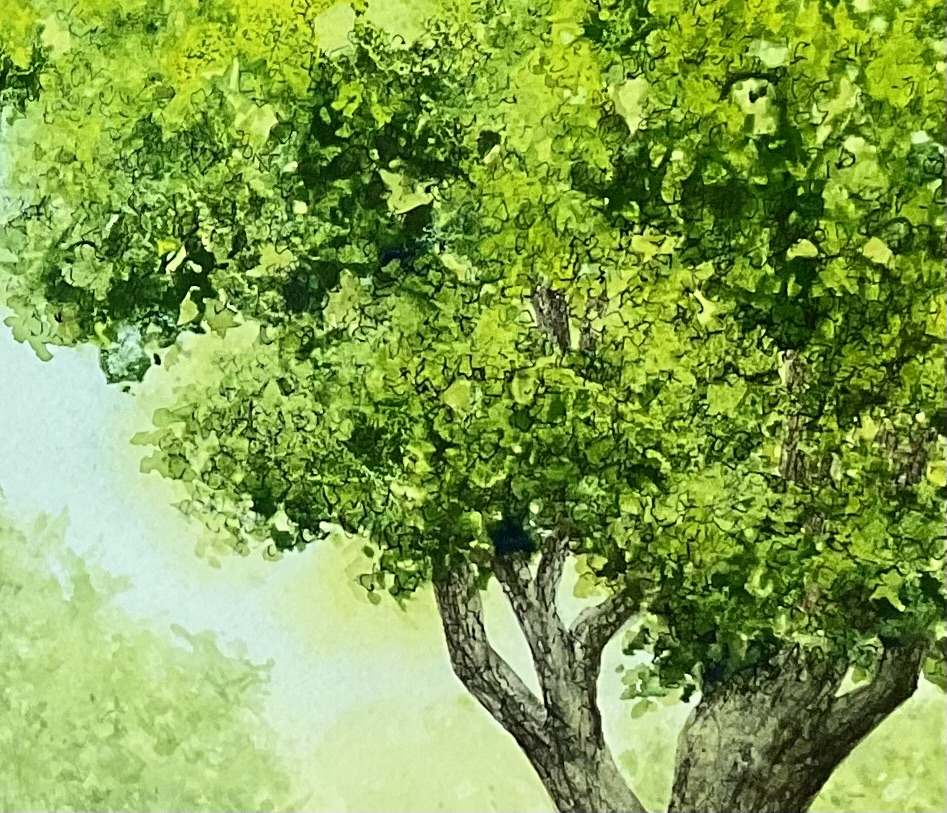
I used a stiff fan brush and darker green to suggest cast shadows under the tree. The final step was to add more detail with a 05 Micron pen. It’s fun to scribble in the foliage!

Mystery Technique

Mystery Technique #162

Curious about the techniques used here? You can learn more next month if you’ve signed up for email updates! 

ANSWER TO MYSTERY TECHNIQUE #161:

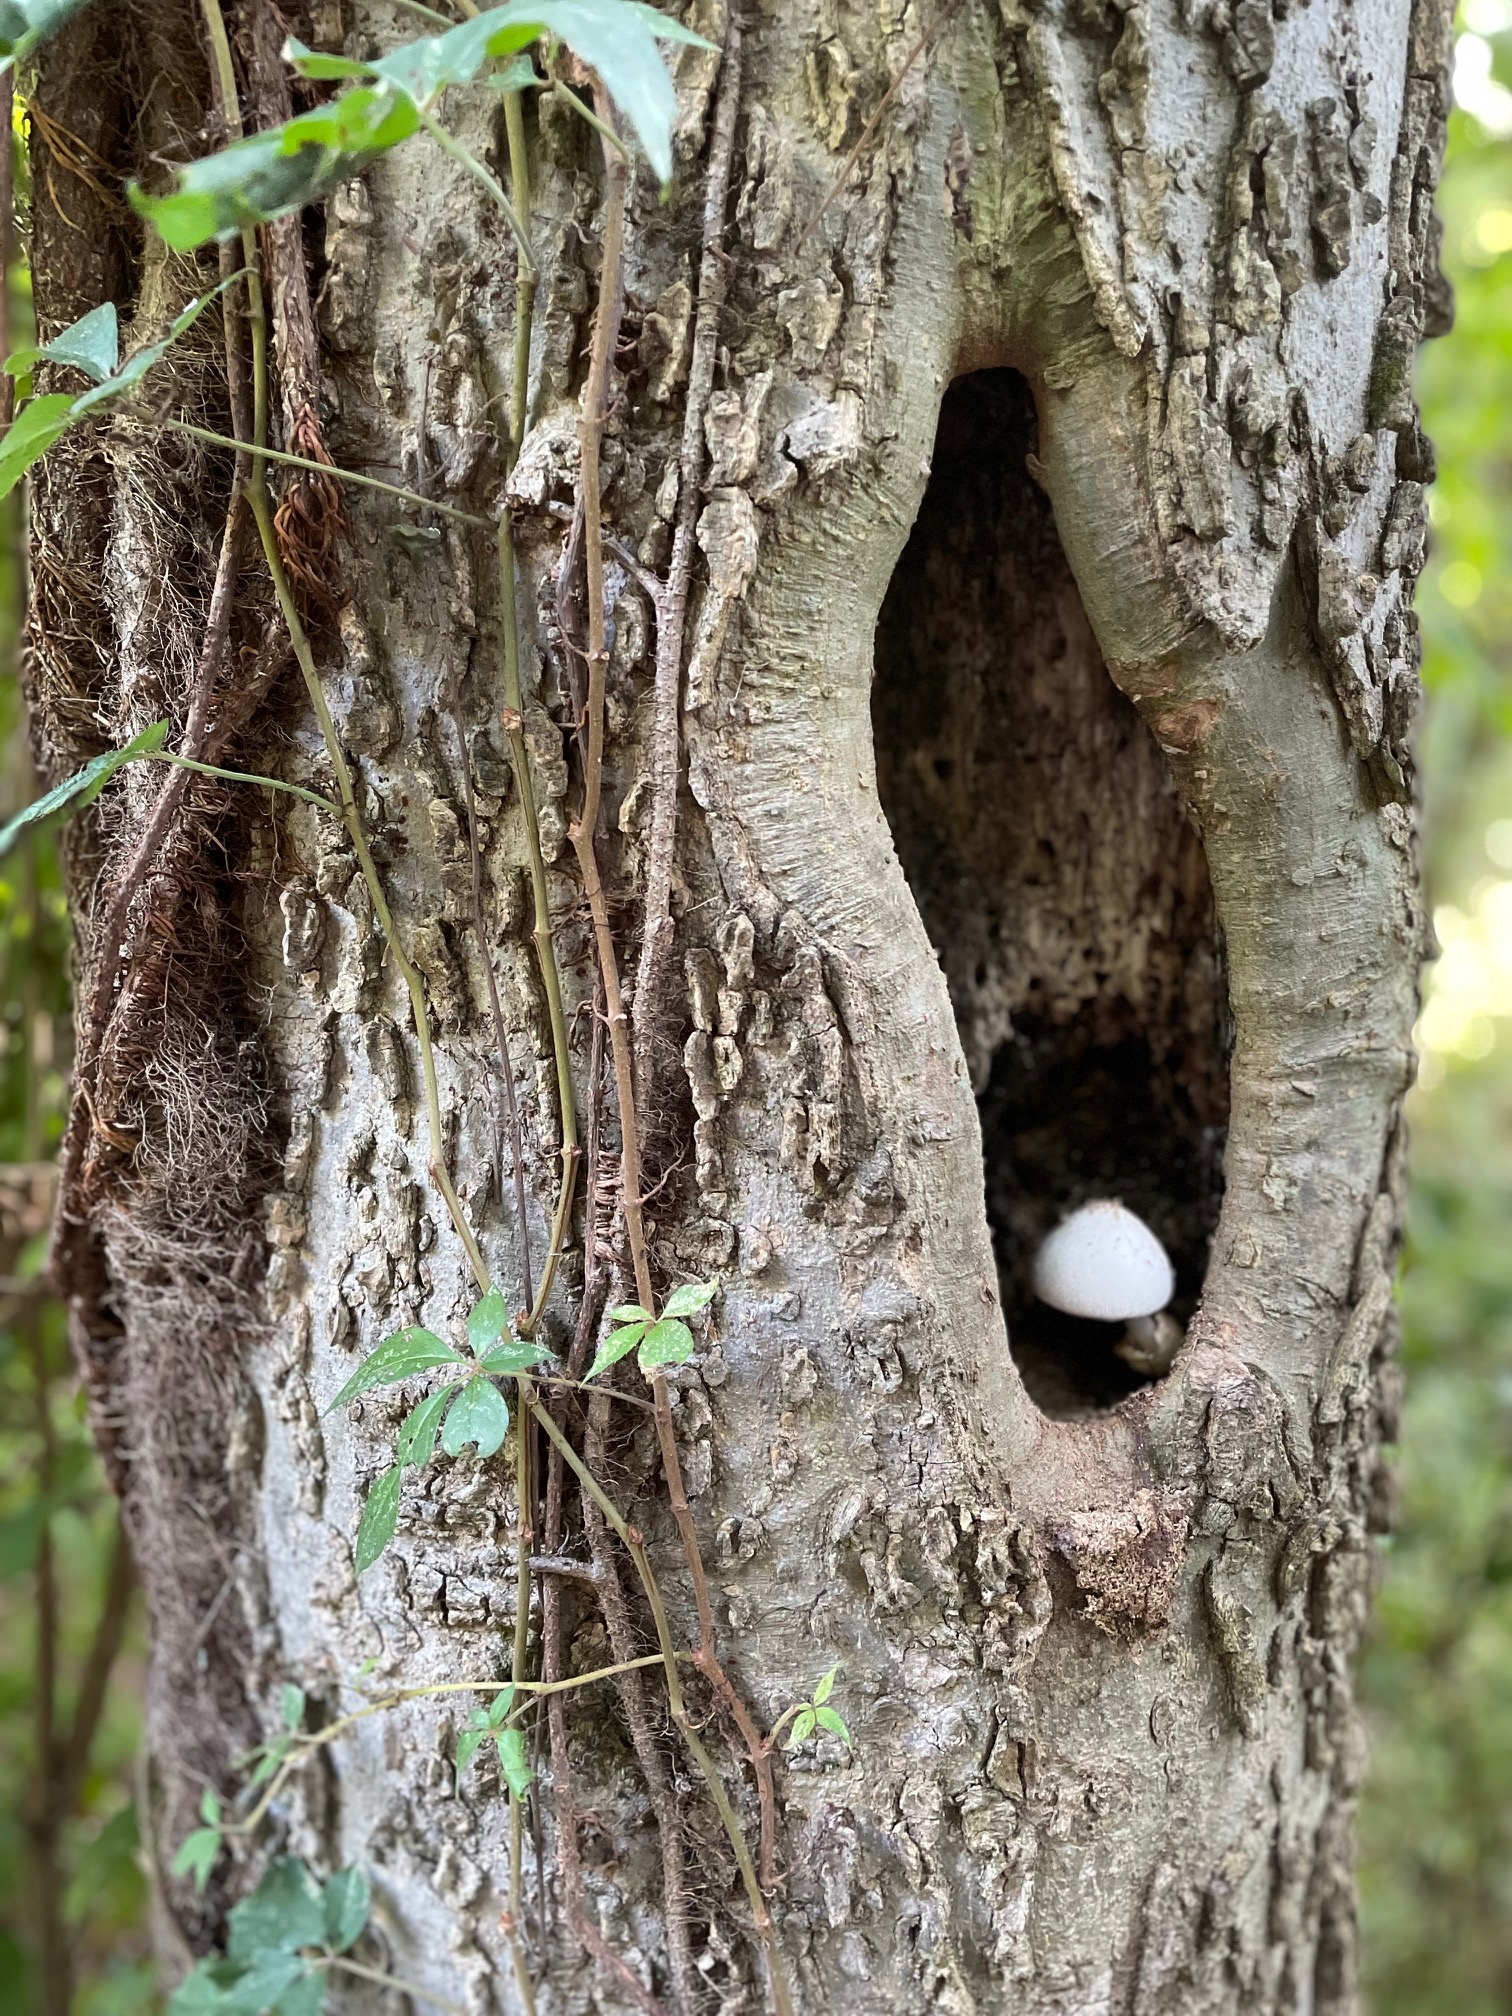
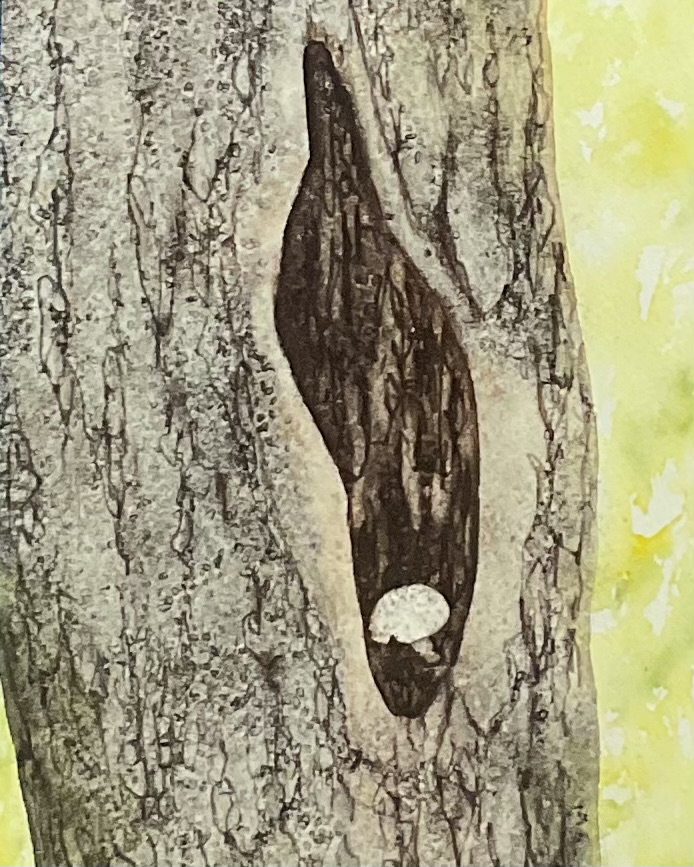
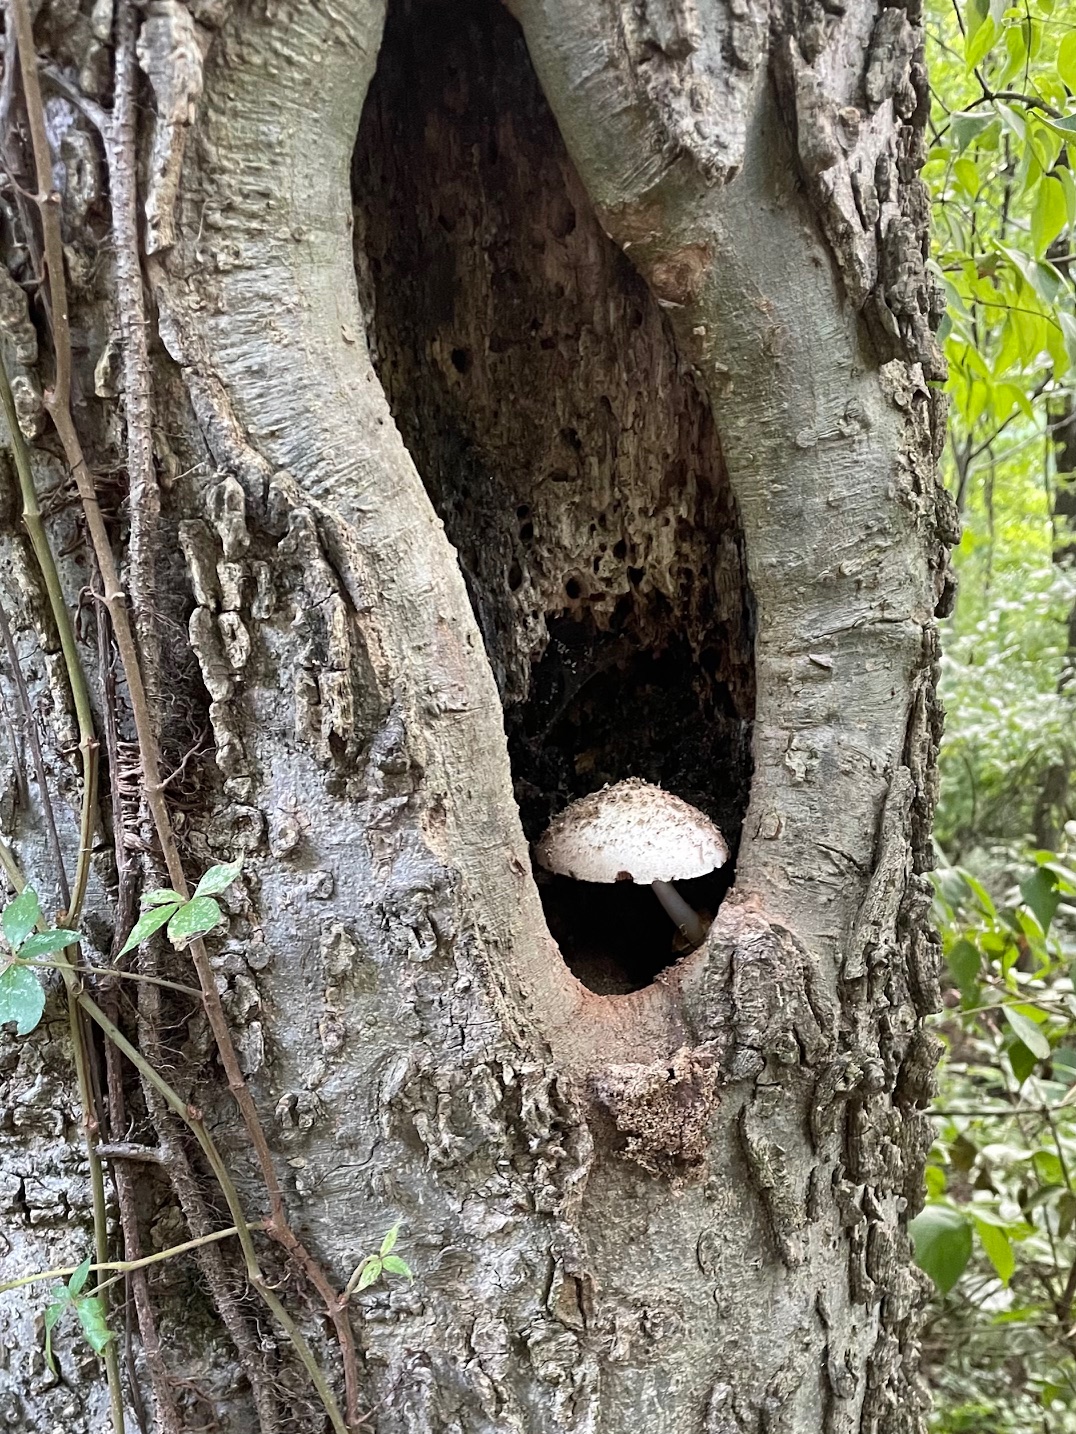
Here’s the inspiration for this mystery technique! First I painted the background foliage. Next I applied clear contact paper over the tree hole shape before painting the bark. While the paint was still wet, I used the end of a metal paint tube to scratch in linear marks, then sprinkled on some kosher salt for additional texture.

After this layer dried, I brushed off the salt and removed the contact paper.

I also used contact paper to save the mushroom shape before painting the tree hole with the same techniques. When this layer was completely dry, I removed the contact paper and painted the mushroom.

Mystery Technique

Mystery Technique #159

Curious about the techniques used here? You can learn more next month if you’ve signed up for email updates! 


ANSWER TO MYSTERY TECHNIQUE #158:

Masking fluid and waxed paper are the stars of this mystery technique! First I tore rock shapes out of junk mail and temporarily attached them to the paper with tape. To create the effect of waves crashing against the rocks, I used a wadded up piece of plastic wrap to apply masking fluid and save the white of the paper. I waited for the masking fluid to dry before painting the sky with a graded blue wash. After this layer was dry, I painted the water with a slightly duller blue. Next I removed the torn pieces of paper and painted the rock shapes with a mix of browns and dark gray. While the rocks were still shiny wet, I pressed wrinkled wax paper into the wet paint and put a heavy book on top. I waited until the next day to remove the waxed paper, which left a series of intriguing shapes. I then added touches of darker colors to make the rocks more dimensional.

Next I removed all the masking fluid.

To create more sense of motion and depth in the crashing waves, I used a small piece of a cleaning eraser (the Target brand) to soften some edges and also added a few touches of blue gray.