Tag Archives: Wet-in-wet

Mystery Technique

Mystery Technique #134

Curious about the techniques used here? You can learn more next month if you’ve signed up for email updates!

ANSWER TO MYSTERY TECHNIQUE #133:

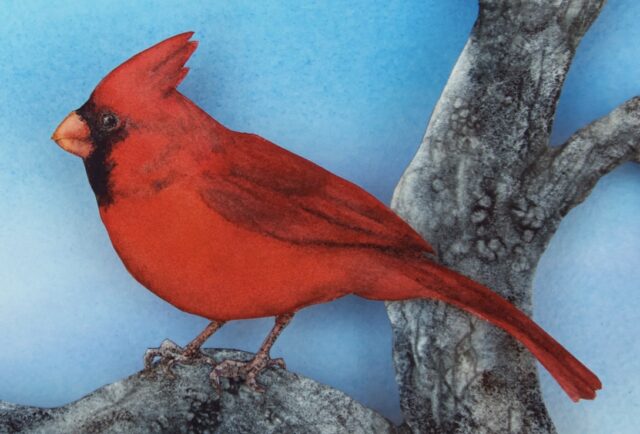
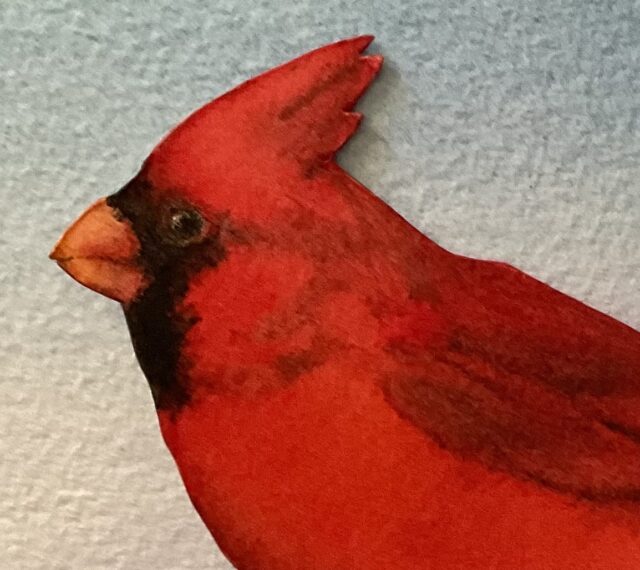
After sketching the cardinal on tracing paper, I used a light box to transfer the drawing onto watercolor paper. Next I mixed several reds for the first layer and added a little New Gamboge to the beak. When this layer dried, I rewet the paper, then painted bluish black next to the beak before quickly adding another layer of red. I came in wet-in-wet with a pale brownish gray to suggest darker feathers and shadows; to control the results, I kept this color drier than the red. I finished the eye, beak, and feet with watercolor pencils and stippling with a .005 Micron black pen.

Mystery Technique

Mystery Technique #133

Curious about the techniques used here? You can learn more next month if you’ve signed up for email updates!

ANSWER TO MYSTERY TECHNIQUE #132:

First I created irregular branching shapes by applying diluted acrylic gloss medium with a pipette. I let these dry before painting the paper with a watercolor mixture, which only partially adhered to the acrylic. After this layer dried, I used a brush to spatter the surface with diluted acrylic gloss medium and white acrylic ink and also added a few lines with a white Posca pen. Once the spatters dried, I rewet the painting and blotted with paper towels to partially lift off the watercolor paint; this left soft halos around some of the spatters.

I then let the painting dry before adding more white Posca pen lines and finishing with a wet-in-wet mixture of French Ultramarine and Permanent Rose.

Mystery Technique

Mystery Technique #125, Part 2

This one continues next month! Look for Part 2’s answer in May!

ANSWER TO MYSTERY TECHNIQUE #125, PART 1:

No masking is needed for this technique! Painting your subject before the background can be easy if you paint the shapes with acrylic and then switch to watercolor for the background.

First I used a brush loaded with water to draw a series of branching shapes on dry paper, modifying them by blotting parts away with a dry paper towel and using a pipette to selectively add more water. Next I dropped diluted acrylic ink into the watery branches, mixing the colors wet-in-wet. As the water slowly evaporated overnight, it left behind a record of its interactions with the paint and paper:

I painted the background with 2 layers of watercolor. First I wet the entire piece of paper, which had no effect on the acrylic; then I mixed Winsor Yellow and Permanent Rose over parts of the painting and wiped the watercolor paint off of the acrylic shapes with a damp brush and sponge. Since the watercolor didn’t want to stick to the acrylic, it was easy to remove:

After this layer dried, I rewet the entire painting again and added diluted Faience Blue (Maimeri Blu brand):

The branching shapes also have more than 1 layer. You can learn more next month in Part 2.