Curious about the techniques used here? You can learn more next month if you’ve signed up for email updates!
ANSWER TO MYSTERY TECHNIQUE #127:
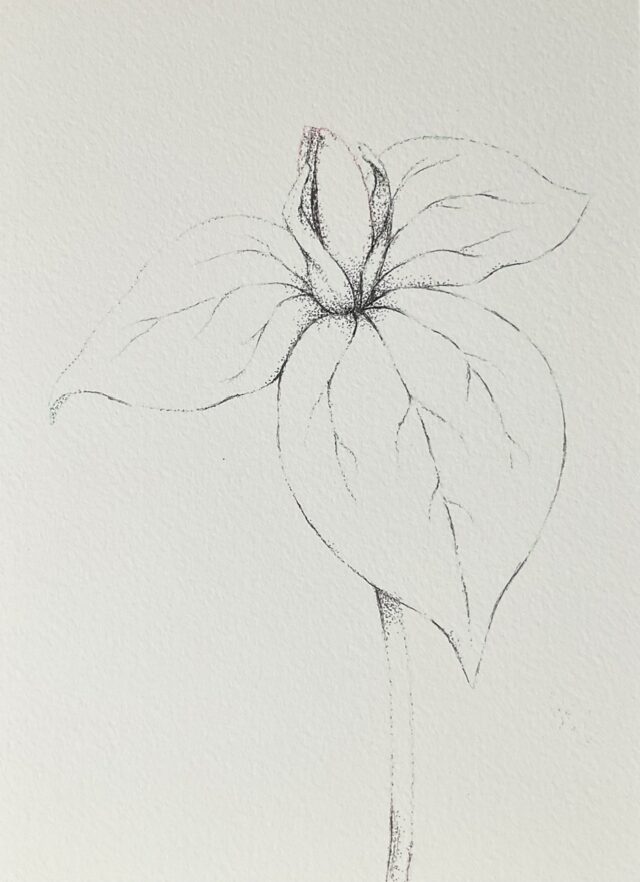
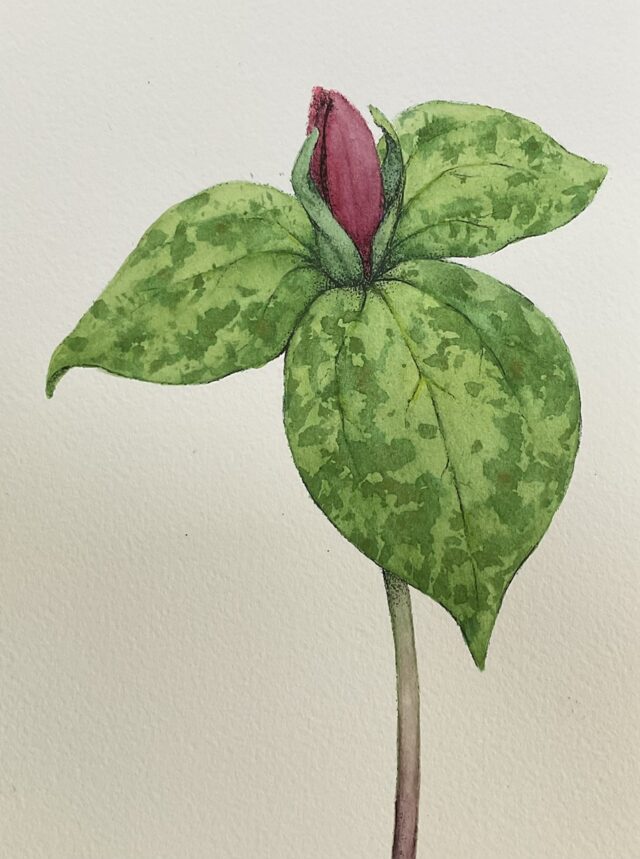
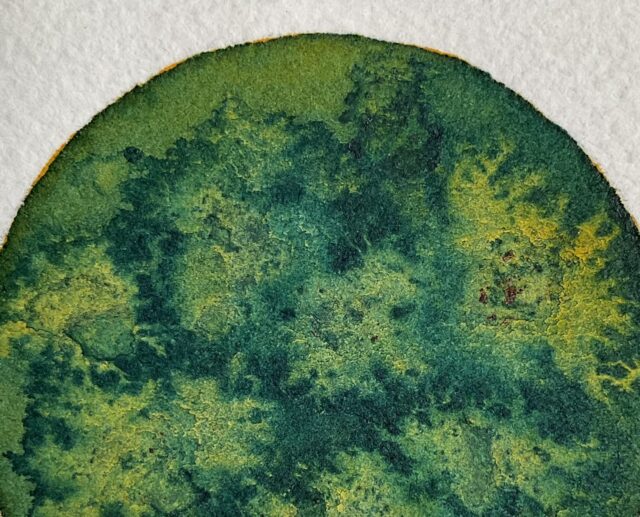
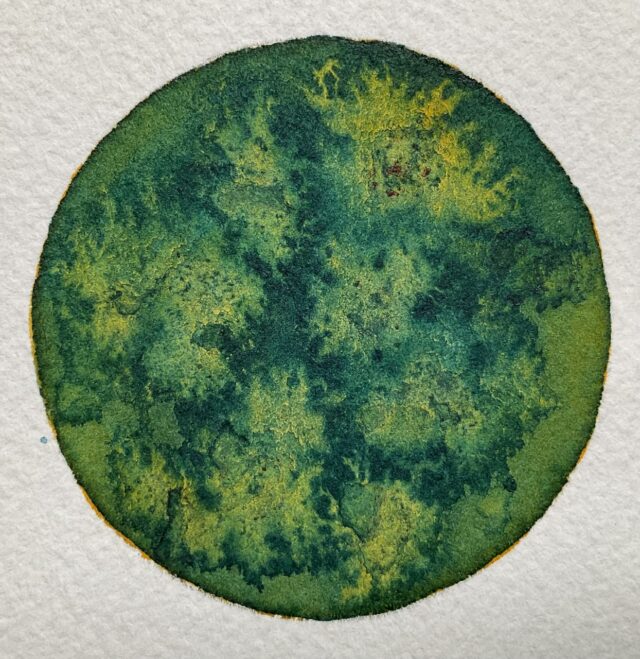
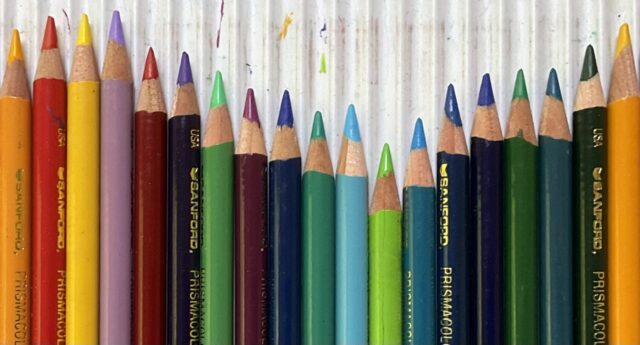
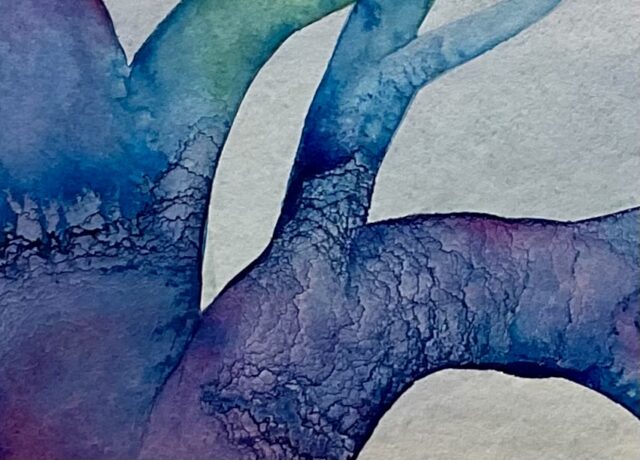
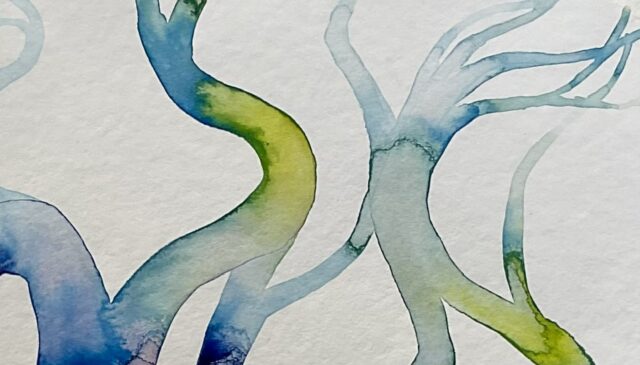
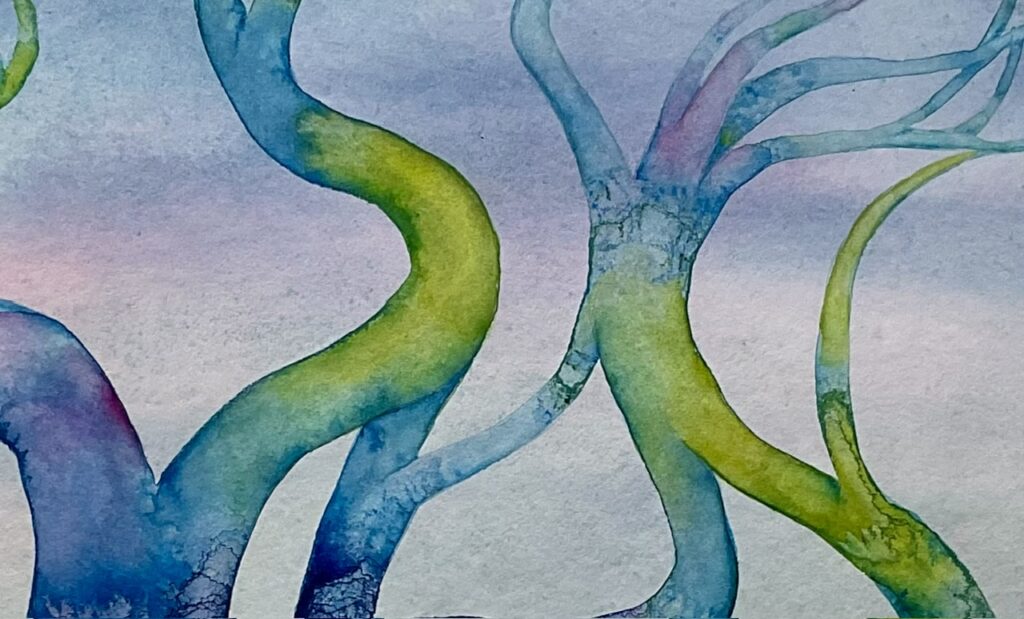
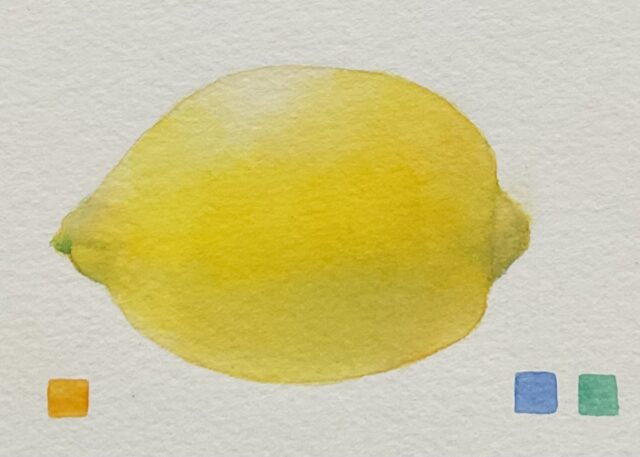
It’s fun to combine watercolor with ink, and if you use Micron pens, you can paint over the ink without any smearing! After drawing the trillium on tracing paper, I taped it to the back of 140 lb. watercolor paper, then put the paper on a light box to trace the outline with watercolor pencils on the front. Next I used a Micron .005 black pen to add dimension to the drawing. After the ink dried, I painted a pale green underpainting on the leaves and scratched in the veins with the end of a metal paint tube. I created the mottled look by applying a darker green with a wadded up piece of plastic and a ratty brush.