Tag Archives: glazing

Mystery Technique

Mystery Technique #126

Curious about the techniques used here? You can learn more next month if you’ve signed up for email updates!

ANSWER TO MYSTERY TECHNIQUE #125, PART 2:

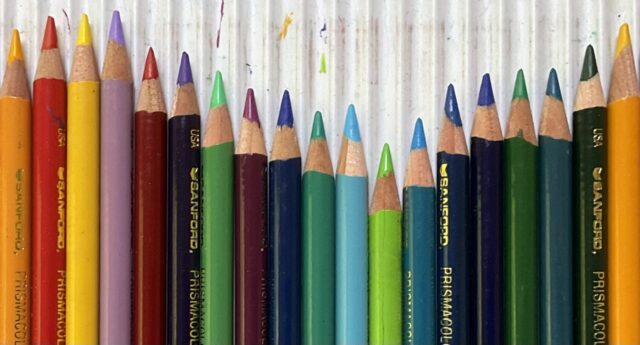
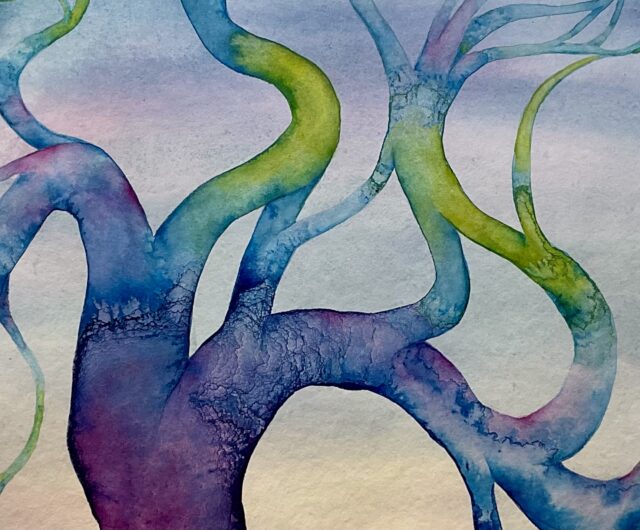
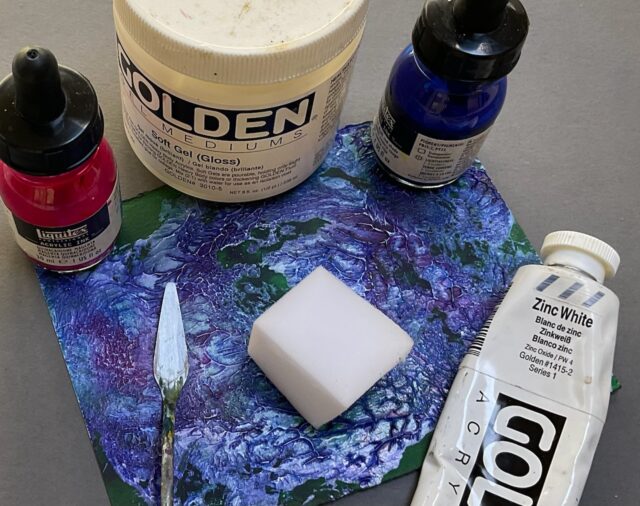
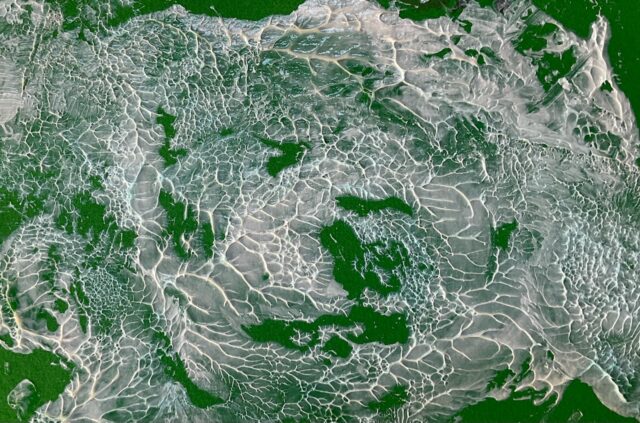
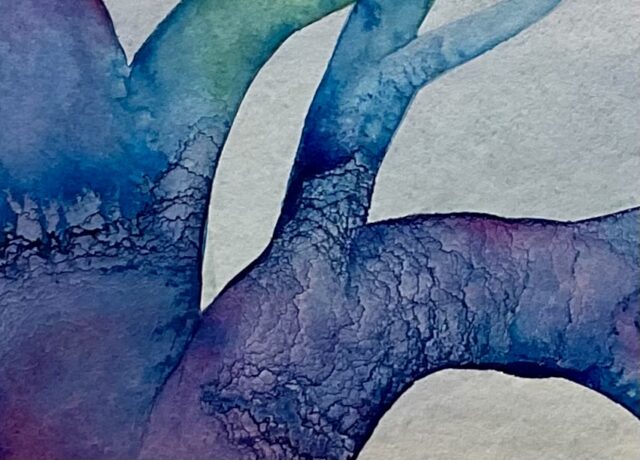
Watercolor pencils are a big part of this technique! Intriguing edges can form as watery paint slowly evaporates:

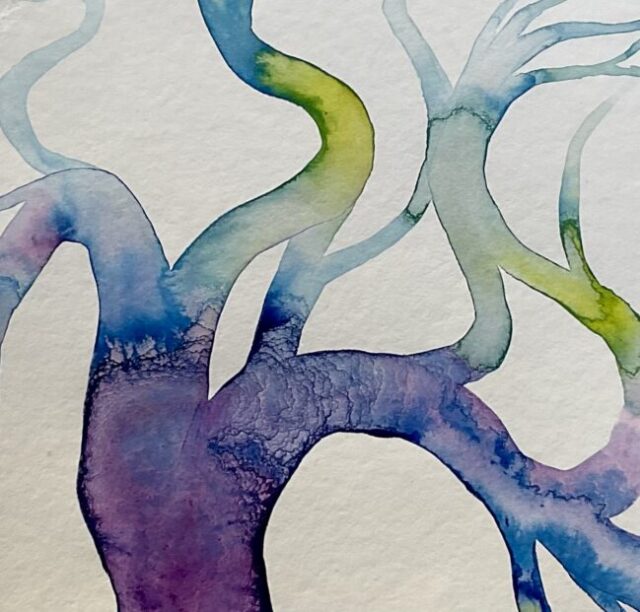
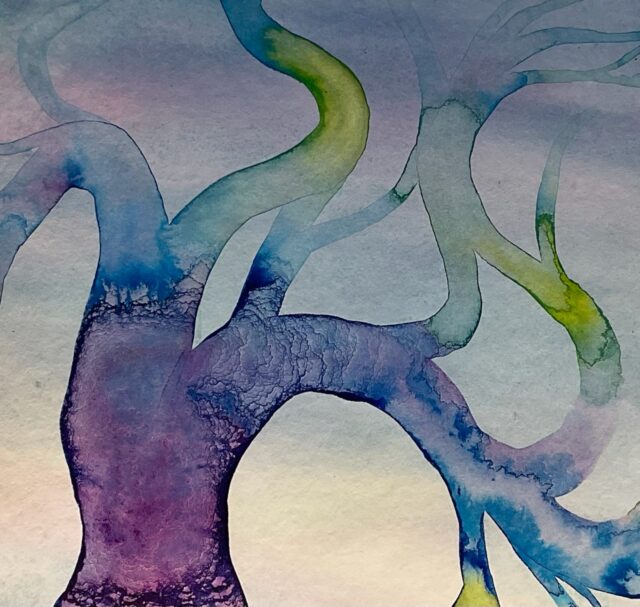
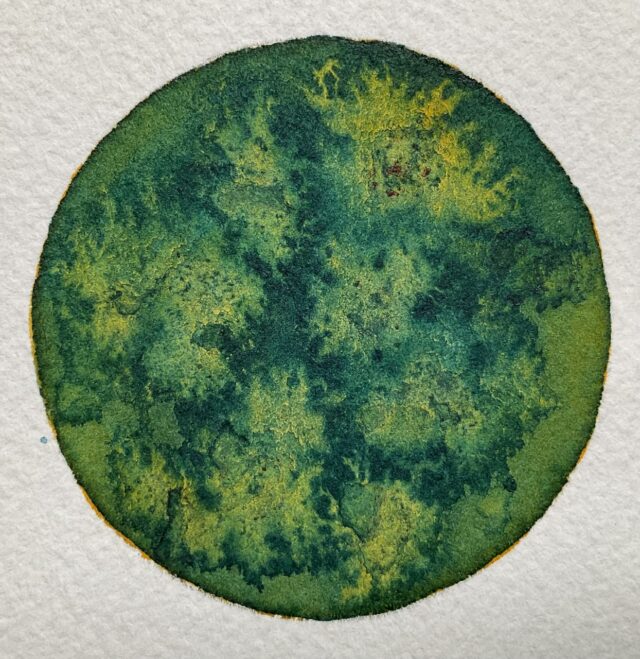
Here’s another part of the same painting where less is happening, and some enhancement is needed:

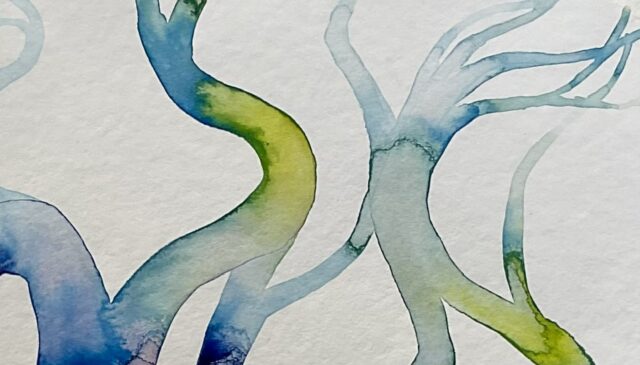
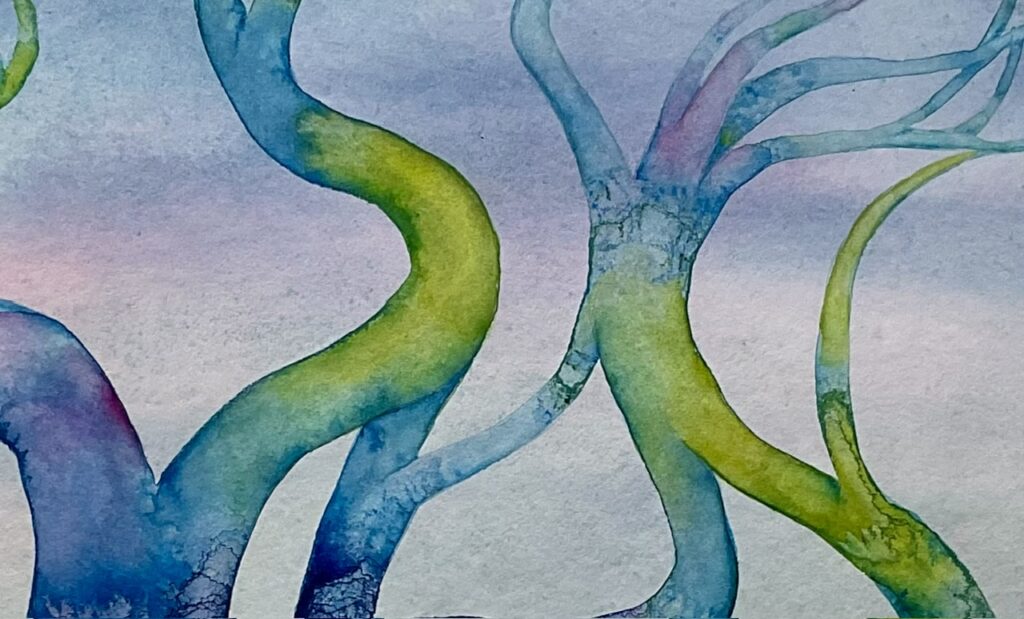
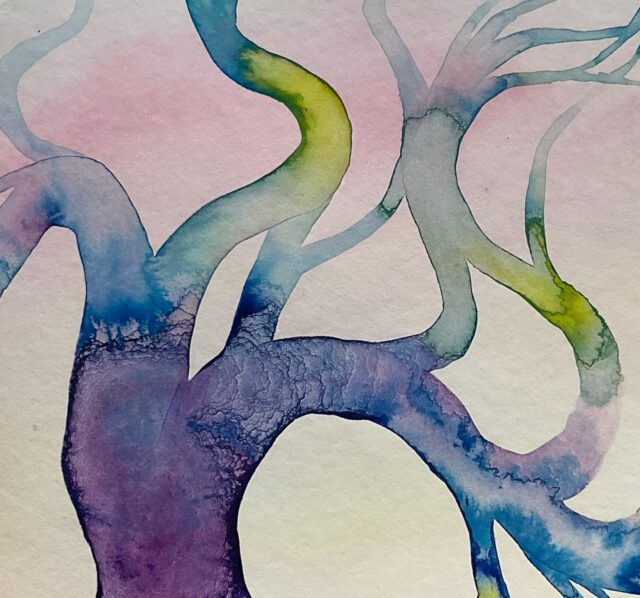
Because watercolor pencils can make so many different kinds of marks, they can effectively mimic what happens during evaporation. It’s fun to experiment with working on both wet and dry paper, dipping the pencil tip in water, and drawing with the side of the tip. See if you can spot the differences in this final version, which also includes the background and another layer of paint for increased depth:

Mystery Technique

Mystery Technique #125, Part 2

This one continues next month! Look for Part 2’s answer in May!

ANSWER TO MYSTERY TECHNIQUE #125, PART 1:

No masking is needed for this technique! Painting your subject before the background can be easy if you paint the shapes with acrylic and then switch to watercolor for the background.

First I used a brush loaded with water to draw a series of branching shapes on dry paper, modifying them by blotting parts away with a dry paper towel and using a pipette to selectively add more water. Next I dropped diluted acrylic ink into the watery branches, mixing the colors wet-in-wet. As the water slowly evaporated overnight, it left behind a record of its interactions with the paint and paper:

I painted the background with 2 layers of watercolor. First I wet the entire piece of paper, which had no effect on the acrylic; then I mixed Winsor Yellow and Permanent Rose over parts of the painting and wiped the watercolor paint off of the acrylic shapes with a damp brush and sponge. Since the watercolor didn’t want to stick to the acrylic, it was easy to remove:

After this layer dried, I rewet the entire painting again and added diluted Faience Blue (Maimeri Blu brand):

The branching shapes also have more than 1 layer. You can learn more next month in Part 2.

Mystery Technique

Mystery Technique #125

Curious about the techniques used in this painting? Here’s a preview of the first layer:

You can see the next steps in April if you’ve signed up for email updates!

ANSWER TO MYSTERY TECHNIQUE #124:

This is an example of Delcalcomania! It’s a transfer technique that makes intriguing textures; I first heard about it years ago in connection with the Surrealists. I started by using a palette knife to apply a mixture of acrylic white paint and gel medium on a green acrylic background. Next I stuck another piece of paper on top of the wet mixture, pressing them together before pulling the 2 surfaces apart at an angle, which created this texture:

After it dried, I glazed over it with diluted acrylic inks. To get back to white ridges in a few places, I used a piece of an Eraser Pad (up&up brand) to remove some of the dried ink.

You can learn more about this technique and see some examples from art history here:

https://www.moma.org/collection/terms/decalcomania