Category Archives: Mystery Technique

Mystery Technique

Mystery Technique #121

Curious about the techniques used here? You can learn more next month if you’ve signed up for email updates!

ANSWER TO MYSTERY TECHNIQUE #120:

Every fall, I use the pages of an ancient phone book to flatten the fallen leaves that I collect on my walks. Since most of the colors quickly fade, I also look for interesting shapes:

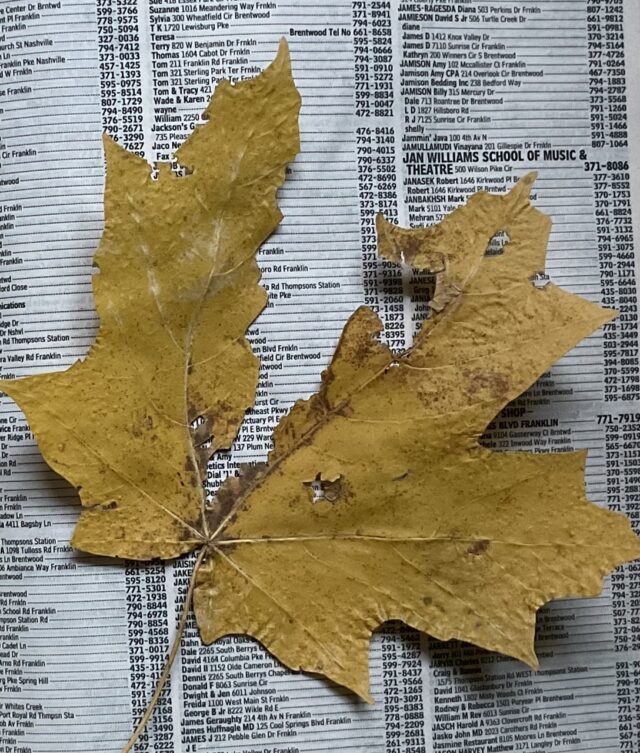
Some of these leaves have inspired parts of paintings or sculptures; I’ve shared others with my students.

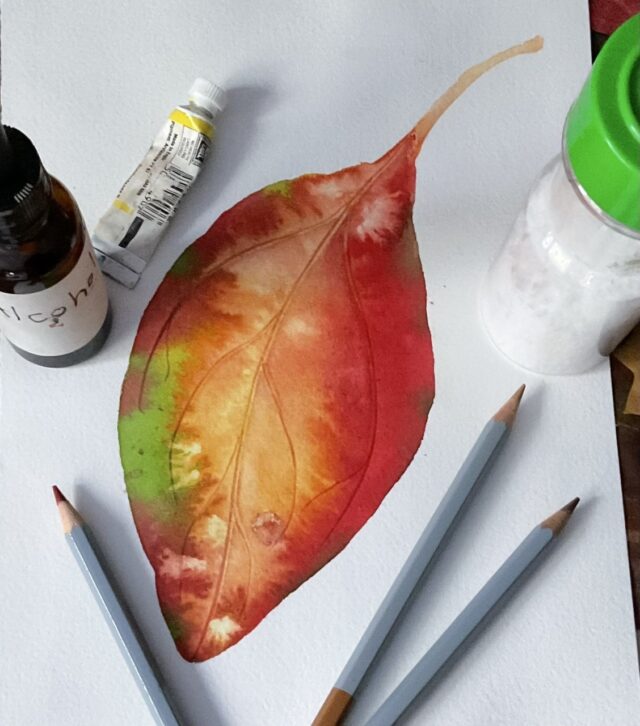
It’s a satisfying experience to get to know the contours of a particular leaf by tracing around it. For this demo, I wanted the outline to fade into the paint, so I drew it with watercolor pencils. Next I painted the leaf shape with water, then added some yellow and red. While the colors were still wet, I added a little green before scratching in dark veins with the end of a metal paint tube. I also sprinkled some kosher salt into the wet paint and added one small drop of rubbing alcohol for the bug hole. I waited until the paint was completely dry before brushing off the salt. To create the lighter and slightly thicker veins, I used a watercolor pencil to echo the angle and direction of some of the existing dark lines, leaving a slight gap.

Mystery Technique

Mystery Technique #120

It’s fun to paint fall leaves, especially sassafras ones! You can learn some of my favorite techniques next month if you’ve signed up for email updates!

ANSWER TO MYSTERY TECHNIQUE #119:

Negative painting is the key to this version of clouds! First I mixed water with some Winsor & Newton Cerulean Blue to make the basic sky color; then I partially wet the paper, using a spray bottle to make a transition zone between wet and dry in the approximate shape of the bigger, lower cloud. Next I “found” the clouds by painting around them with the blue. The paint followed the water in the sprayed transition zone, making it easier to mimic the irregular top edges of a cumulus cloud with my brush. Since Cerulean Blue tends to stay where you put it on wet paper, it was easy to create the softer edges of the higher clouds as I painted around them.

After this layer dried, I rewet the entire piece of paper to add some subtle yellow and the first layer of pink. Because I was using soft brushes and Arches paper, none of the first layer lifted. I darkened the blue of the sky in the next layer, using a damp piece of sponge to make transitions between wet and dry paper. The darker pink and violet shadows were added later and blended in with the damp sponge.

Mystery Technique

Mystery Technique #119

It’s Cloud Appreciation Day! These clouds required more layers and different techniques than the ones I demonstrate below. You can find out more next month if you’ve signed up for email updates!

ANSWER TO MYSTERY TECHNIQUE #118:

Painting clouds this way is a race against the clock! It’s a good idea to have a different brush preloaded with each color before you wet the watercolor paper. I used Arches 140 lb. Cold Press for this demo. First I mixed a gray for the cloud shadows by adding a little red and yellow to French Ultramarine. Next I loaded a different brush with just French Ultramarine and another one with just Cobalt Teal Blue. After placing paper towels underneath to absorb excess water and paint, I used the Hake brush to quickly wet the paper, then mixed the 2 blues wet-in-wet to create a gradation from lighter to darker. While the paint was still wet, I lifted out cumulus cloud shapes by firmly pressing a wadded up paper towel into it:

To avoid damaging the paper, I kept rotating the paper towel wad to find a clean, dry spot before pressing and lifting again. Next I added a hint of shadow to the clouds with the gray:

First I put down a little gray, then used a damp piece of sponge to blend it in before continuing. You can see how the gray adds dimension by comparing the middle cloud to the other 2.

If you’d like to modify the shape of your clouds or make them whiter, you can use a torn paper stencil. You’ll also need a wet piece of eraser pad (such as the up & up brand pictured below) and a brush or damp piece of sponge.

Gently rubbing the eraser piece next to the torn edges, I removed some of the paint to reveal more of the white of the paper. Moving the stencil around and sometimes reversing it allowed me to vary the edges. The little piece of sponge helped with blending. Here’s the result:

Mountains or trees could easily be added on top of the pale sky at the bottom.